Birthday season is in full swing for us right now. The Dot celebrated her birthday a few weeks ago, and we have a number of family birthdays approaching. I was referencing the icing recipe in my Monster Truck Birthday Cake post and realized I never shared Lamborghini’s birthday cake from last year. So today I’m doing a throwback post to the Om Nom birthday cake we made for Lamborghini’s fifth birthday. Like the monster truck cake and pretty much all the cakes I make for the kids, this Om Nom cake was easy to put together. I used box cake mix and, in this case, premade icing too. But the color and decorations are what brought everything together.
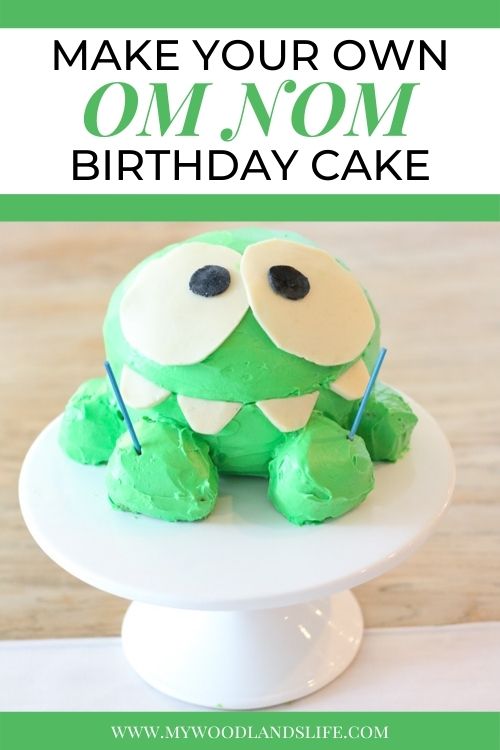
Before I go any further, though, let me answer the question that might be on your mind: Who is Om Nom? Om Nom is a lovable yet mischievous little green monster character from the video game “Cut the Rope.” Since his debut on the game, the Om Nom franchise has extended into additional games and an animated series. I must admit that before the kids discovered the short Om Nom Stories on Amazon Prime, I had no idea who he was. They think it’s hilarious that Om Nom gets to eat candy all of the time. Mr. L and I are not huge fans of the show because it doesn’t really teach the kid anything. Nevertheless, when Lamborghini requested an Om Nom birthday cake, we had to make it happen.
If you, too, are trying to figure out how to make a DIY cake based on this obscure little character or if you are curious to see how it came together, keep on reading.
Ingredients
With four kids at home, I am very much over making cakes from scratch. Especially when it comes to the kids’ birthdays. As far as my kids are concerned, sugar is sugar. That’s why the “ingredients” for this cake consist largely of premade items. If you have time or kids with more discerning palates, feel free to make a cake and icing from scratch.
For the cake:
- Box cake mix (preferably white so you can color it green, but it’s up to you)
- Box cake mix ingredients (usually oil, eggs and water)
- 2 containers of premade white icing
- Green gel food coloring
- Milk
For the decorations:
- Premade fondant or modeling chocolate OR:
- White candy melts
- Vegetable shortening
- Black gel food coloring or food coloring pen
A case for the Six-Inch Cake Pan
As usual, I DID NOT use the pan sizes recommend on the back of the cake mix box. Unless you are going to make a four-layer cake, cakes made with two 9-inch round pans tend to look flat and disproportionate. Instead, I used two six-inch round cake pans and one mini loaf pan.
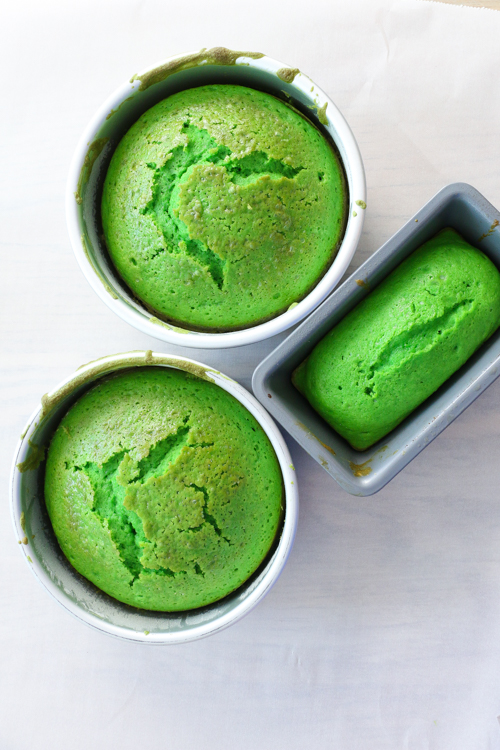
Why the six-inch pan? I personally like working with smaller cakes, and the responsible side of me doesn’t like having leftover cake. We had a small family party for Lamborghini’s birthday last year, so the 6-inch cake was the perfect amount for all of us. However, if I plan to serve cake to over 10 people, I’ll make additional cupcakes and ice them the same color as the smaller cake. I actually think the kids prefer eating the cupcakes anyway. The cake is just for show.
In case you need the smaller-sized pans, I’ve linked some Amazon options below for your convenience (just click the photo):


Baking Instructions
Back to the Om Nom cake. Make the cake according to the instructions on the box, but color the batter green before adding it to the pans. For baking, you’ll want to fill your six-inch round cake pans about halfway full with batter. Then fill the mini loaf pan halfway full with batter. Bake the mini loaf pan for approximately 10-15 minutes and the six-inch cakes for approximately 18-25 minutes. Test the cake with a toothpick or sharp knife for doneness. Once the cake is out of the oven, let it cool completely and then wrap it in plastic wrap and refrigerate it for at least an hour.
Preparing the icing
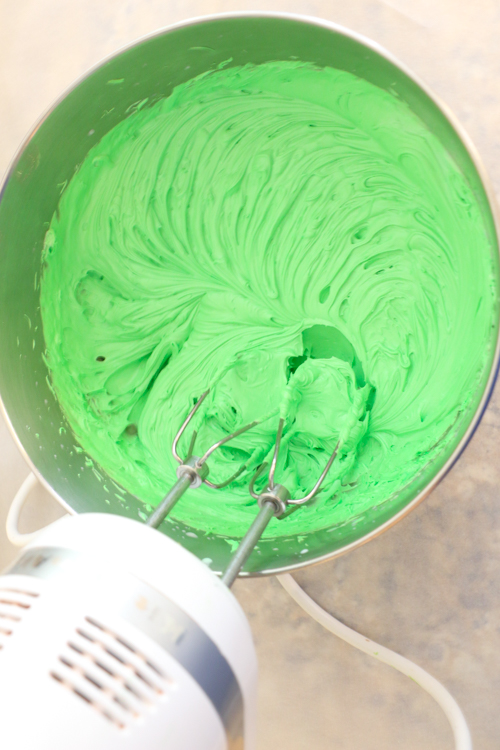
Empty your containers of premade white icing into a large bowl. To make the icing an easier consistency for spreading, add a tablespoon of milk to the icing and then beat it in by hand or with an electric hand mixer. You may need to add more milk a teaspoon at a time, but you want the icing to be easy to run a spatula through. Also add a few drops of green food coloring to get the Om Nom monster green color.
Assembling the Cake
Start with your first six-inch round cake and use a bread knife to cut a small piece of the top off. This will be the bottom of Om Nom’s body and will help him sit flat. Place the cake, cut side down, on a piece of parchment paper.
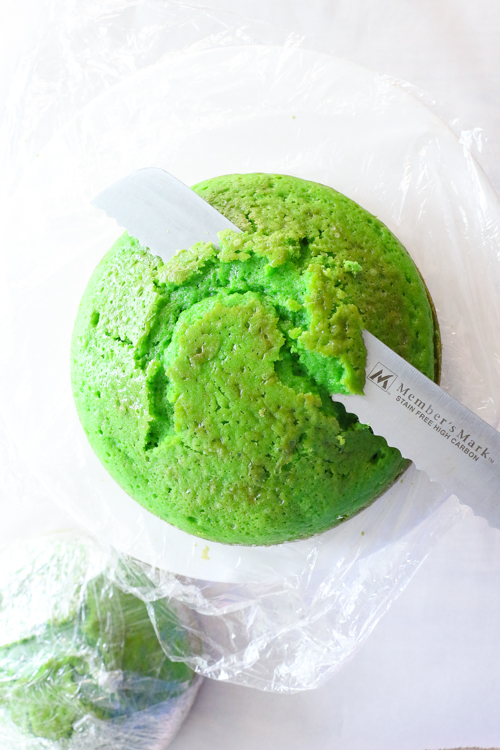
Next, spread a generous layer of icing over the bottom layer, and then top it off with the other six-inch round cake.
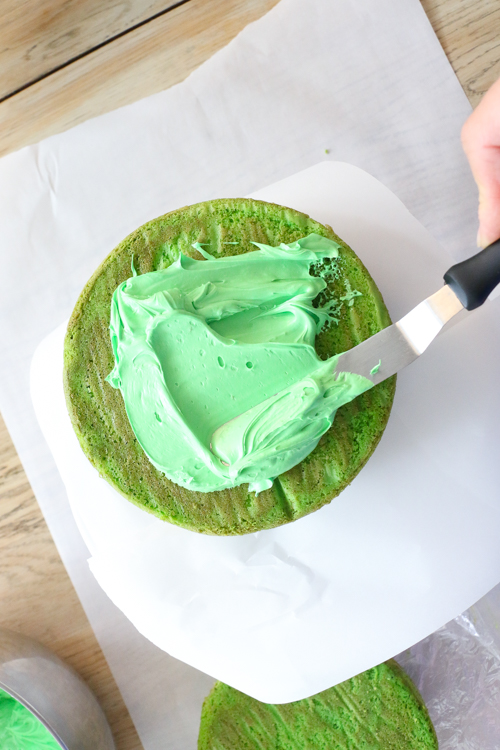
The top on the second cake piece should be domed, so you will get a spherical effect. Use your bread knife to trim around the cake to give it a more rounded look if needed.
For Om Nom’s feet, take your mini loaf pan and cut it into four pieces as shown in the photo below:
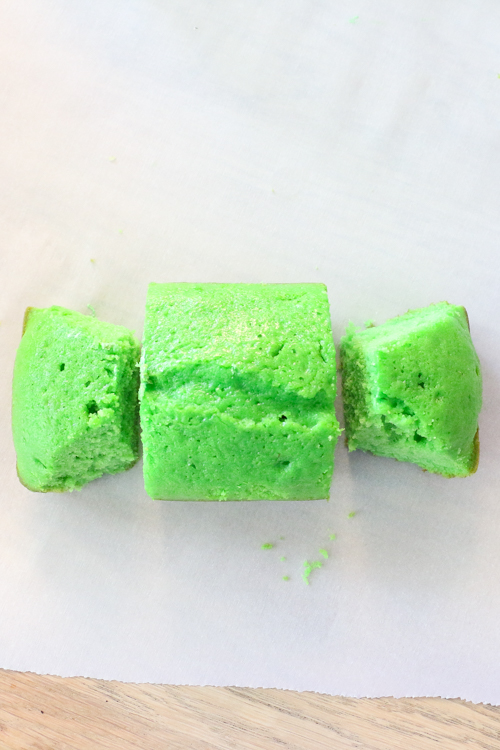
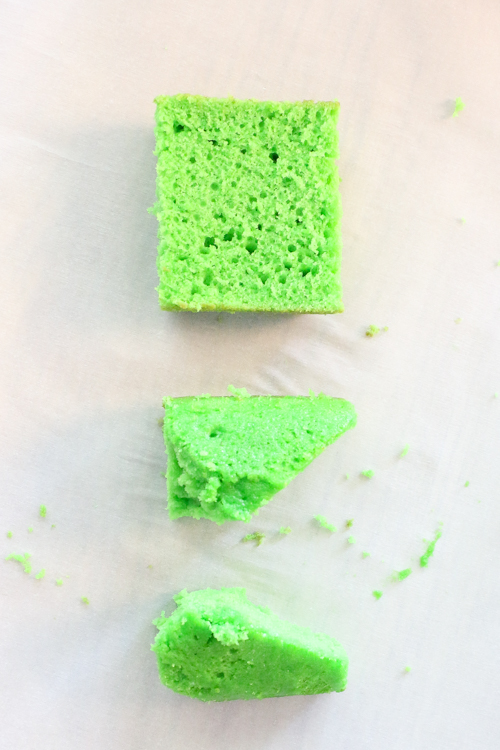
The outer two pieces will be Om Nom’s front feet. Trim down the center section to make Om Nom’s back feet.
When it’s pieced together, the cake should look like this:
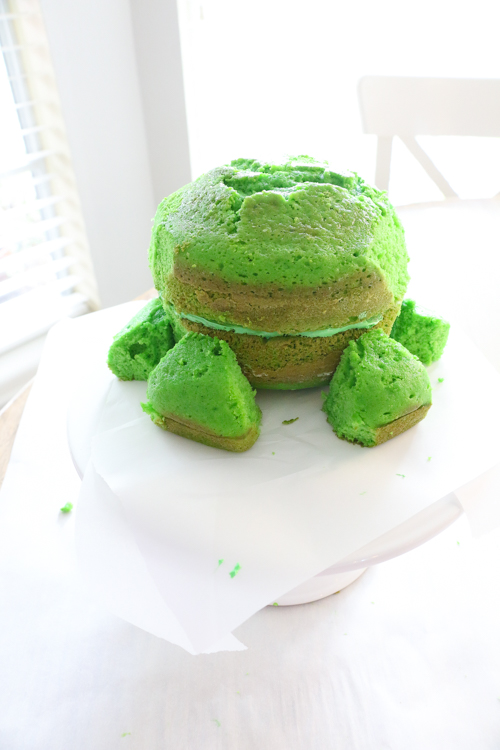
Icing the Cake
Start icing the cake by using an icing spatula to spread a crumb coat on all of the Om Nom pieces. A crumb coat is a thin coat of icing that creates a seal between the cake and the subsequent layer of icing. It prevents the cake from crumbling when you try to smooth out your final layer. It doesn’t matter if the crumb coat looks pretty. Just do your best to cover all of the visible cake with a thin coat of icing. Refrigerate the iced cake for at least 30 minutes to an hour.
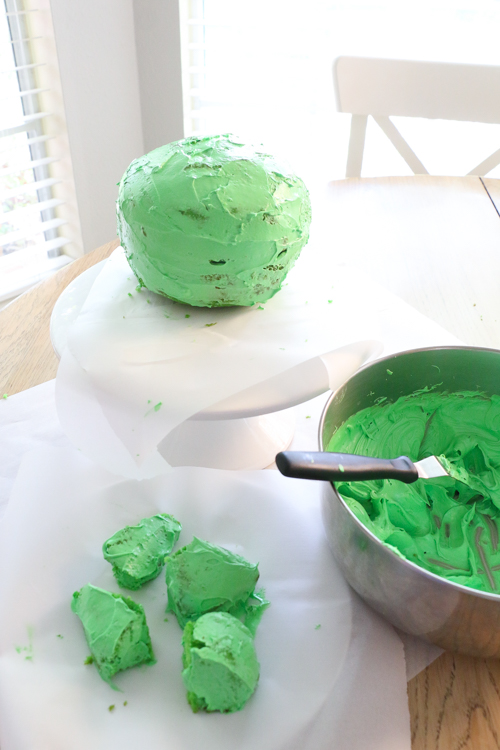
After the crumb coat is cool, use the icing spatula to finish icing the cake. This should be a fairly easy job because the icing will stick to the crumb coat and will smooth out easily.
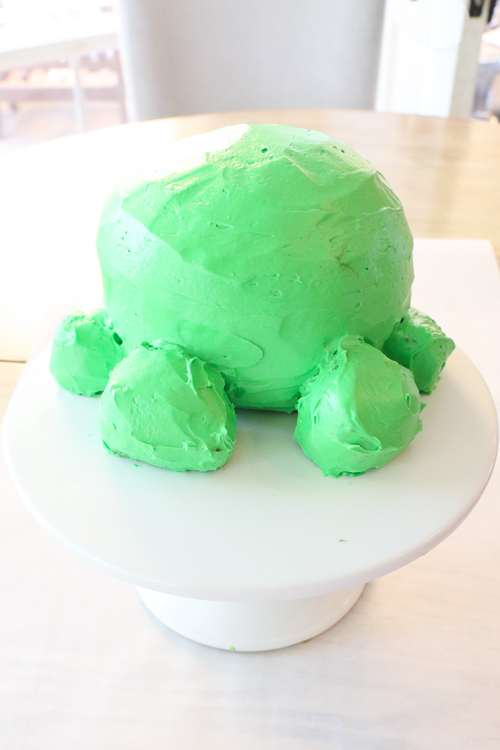
Like the boxed cake mix approach, I do not go into perfectionist mode when icing a cake for kiddos. Kids will not care if the icing is not perfectly smooth. There will likely be little finger impressions on the back side of the cake before the candles are even lit. Because samples :).
Finishing touches
These last few steps are when Om Nom becomes Om Nom. I don’t like the taste of fondant, so I try to avoid it. Instead, I like to make my own modeling chocolate in the microwave using candy melts with this recipe. But you can purchase fondant or modeling chocolate at the grocery store or craft stores as well.
Roll out your modeling chocolate or fondant with a rolling pin and then use a paring knife to cut out four rounded triangles for teeth (see photo below) and two large ovals for eyes. Use black food coloring to dye a small amount of fondant for the pupils of Om Nom’s eyes. The best part about working with fondant/chocolate is that it is similar to play dough, so if you need to resize or redo the pieces, it’s easy.
Cut a light slit where Om Nom’s mouth should be and press on the teeth (the line will help with positioning too). Then put on the eyes so they overlap slightly.
I have our Om Nom holding birthday candles. It would also be cute to spread peppermints (Om Nom’s favorite candy) along base of the cake plate.
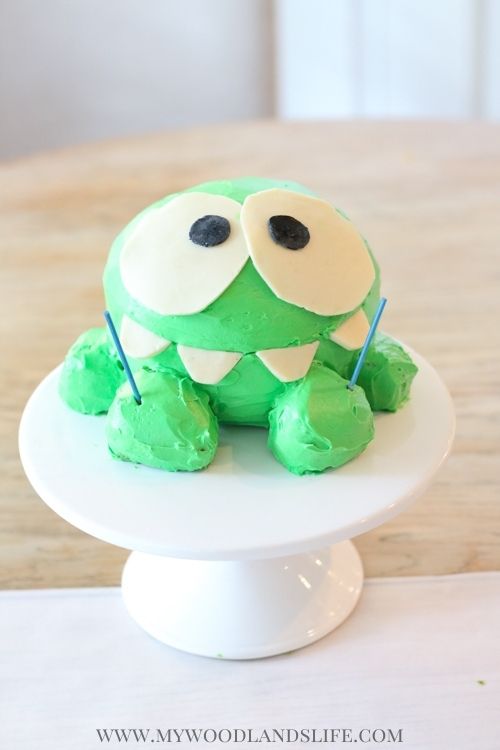
And that, my friends, is how we celebrated Lamborghini’s fifth birthday. This year he is angling for a Legend of Zelda cake, which may be a bit beyond my capabilities considering he wants it to be a 3D cake of all of the characters. I’m going to start planning now and will let you know how it goes.
Have a happy Monday everyone!