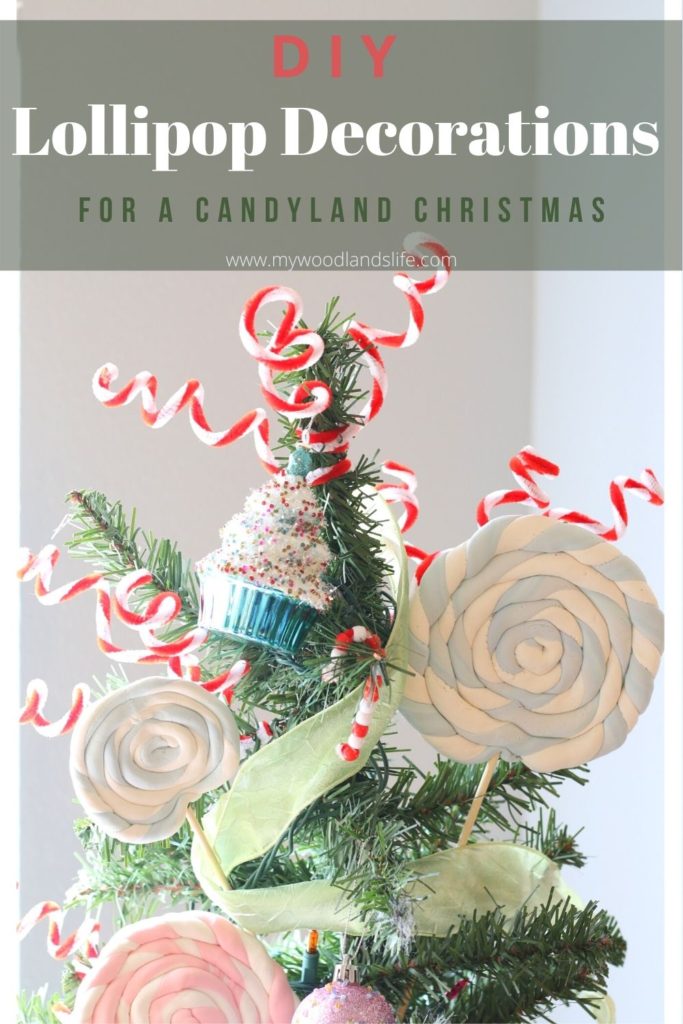
Even though it is early November, Christmas decor is on my mind. Every year I put a small tree together for the kids in the upstairs playroom. We usually just decorate it with the ornaments they make at school and random leftover ornaments from Christmases past. But this year I want to spruce it up for them a little bit. I was perusing Pinterest last night and came across the most adorable Candyland-themed Christmas tree. It is loaded with colorful gingerbread houses, pipecleaner curlicues, candy-cane themed snowflakes and—this is the coolest part—giant lollipops. I went down the internet rabbit hole of searching for the giant lollipops and couldn’t find any that were quite as cute. So I decided to DIY my own lollipop decorations. Here’s how I made large 5″ lollipops it in case you want to make your own.
Instagram tutorial
If you would like to watch a video of me making the lollipops, check out the highlights on my Instagram account (linked here).
If you prefer the print instructions, keep on reading.
Supplies
The key to this project is this Crayola-brand modeling clay (click the photo for the Amazon link):

I love it for the kids because it doesn’t have a weird smell, doesn’t leave their hands sticky, and doesn’t make a mess. It also has an interesting foam texture and is very lightweight (i.e., easy to hang on the tree) when it dries. I bought the 2 pound pack in white for the kids to play with, but you can also buy it in smaller quantities and different colors. For the DIY lollipops, I tinted the white clay with washable markers to get a pastel look. If you want a darker colored lollipop, you will want to purchase the pre-colored clay along with the white. You’ll want the large container to make a lot of lollipops.
The full supply list is set out below:
- Crayola Model Magic
(in white)
- washable markers
- 12″ bamboo skewers
(I found some in a drawer at home, but these seem like a better thickness)
- parchment paper (for drying)
- optional: Crayola Model Magic 4 oz.
(in colors)
Instructions
These lollipops are fun and relatively easy to make. I definitely had a few flashbacks to kindergarten playdoh sessions when I was making these. They would be a fun project for a child or grandchild to help make too.
I saved all of the below steps along with a video of the process to my Instagram highlights, so check that out for a quicker tutorial.

Step 1 – Divide out your clay
One large 5″ round lollipop requires about a baseball size amount of clay. For a traditional lollipop look, you’ll want to divide the clay in half and color one of the halves (or color both!).
Step 2 – Color the clay
As I mentioned above, you can purchase pre-colored model magic clay. However, it is easy to achieve a pastel color with the white clay and washable markers. I actually snagged a bit of light blue clay from some clay my kids colored with markers earlier this year, but I made a bit of pink clay along with this graphic to show you how easy it is:
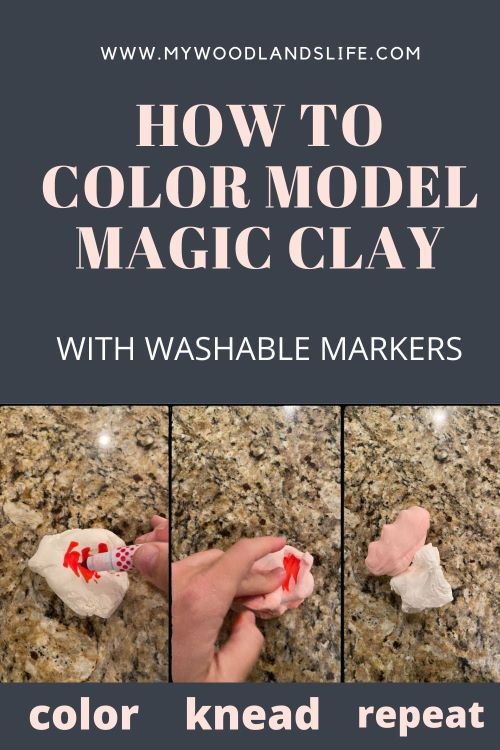
Basically you just flatten out your magic clay, color on it with the washable marker, and then knead it a bit. You keep repeating this process until you get the color you want. I ended up kneading and re-coloring this pink piece about three times before I got the perfect pink (for me).
Step 3 – Roll out the clay
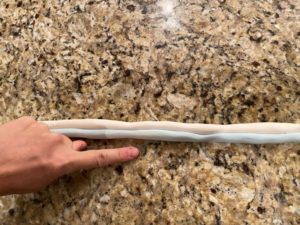
This is the fun, kindergarten-esque part. You need to make two “snakes” out of each color clay by rolling the dough under the palm of your hand. Each snake should be a little smaller than the thickness of your index finger (maybe the pinkie):
Next, twist the two snakes together to make a loose candycane effect (don’t spend too much time here—you can go back later when you make the spiral and twist some more):
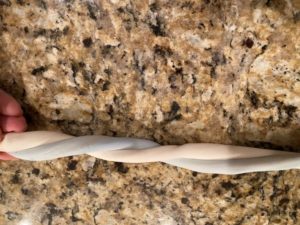
Roll those two snakes together to smooth out the seams:
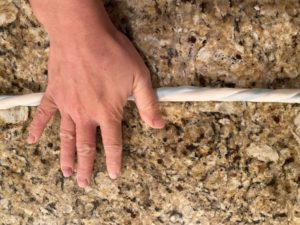
Then form the snake into a spiral (or “snail”) shape by wrapping the snake around itself:
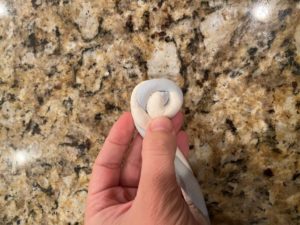
You’ll want to work your way around the spiral by rotating the snake as you wrap it to give it a tighter candy cane look.
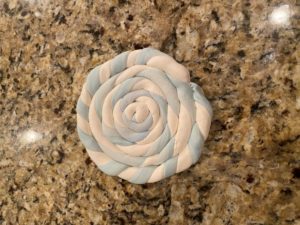
Step 4 – Insert the skewer
Carefully insert the sharp end of the skewer into the round lollipop starting at the tip of your coiled snake. Use your hand to stabilize the coil as you insert the skewer. I skewered my lollipop all the way to the top for extra support.
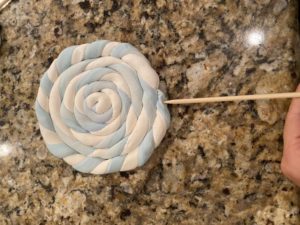
Step 5 – Let it dry
I made a total of three lollipops and let them dry overnight on parchment paper. They were still slightly squishy the next morning, but sturdy enough to go up on the tree.
Final Thoughts
That’s how you make a basic faux lollipop decoration. At this point you could use it for your decorating needs. But you can also spruce it up a bit more with ribbon at the base. You could wrap washi tape around the skewer if you don’t want the natural look. And another option is to cover the whole candy part with clear cellophane so that it looks like an unwrapped boutique lollipop.
Hopefully I will get around to making enough to decorate the playroom tree, but I did add the three lollipops that I made to the tree.
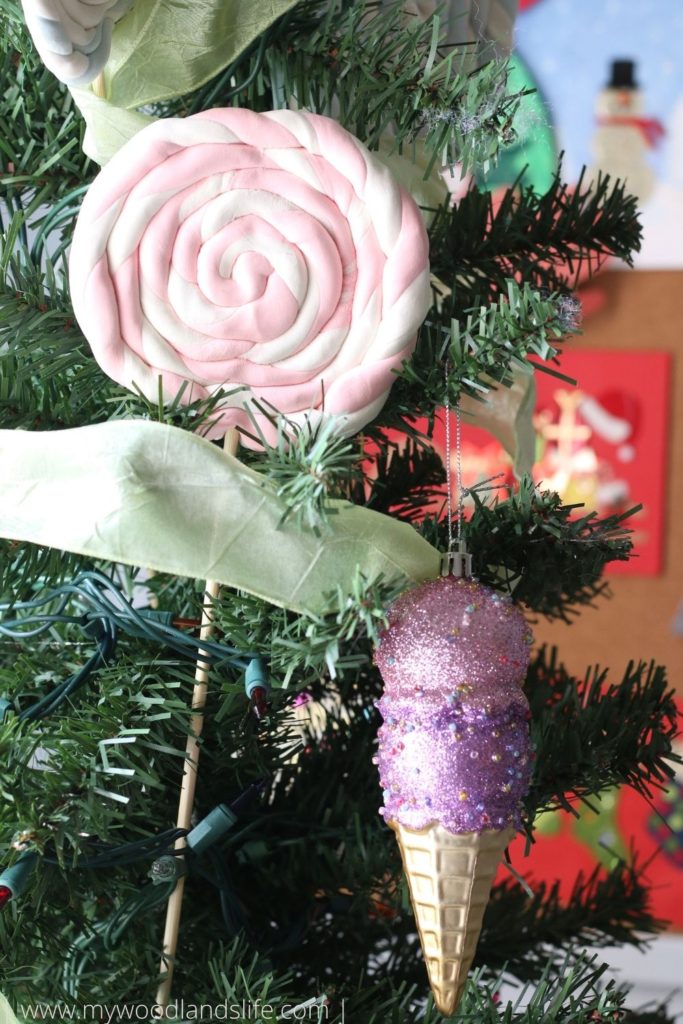
How cute does this pink lollipop look with the ice cream ornament?
And here is a smaller blue lollipop that I made:
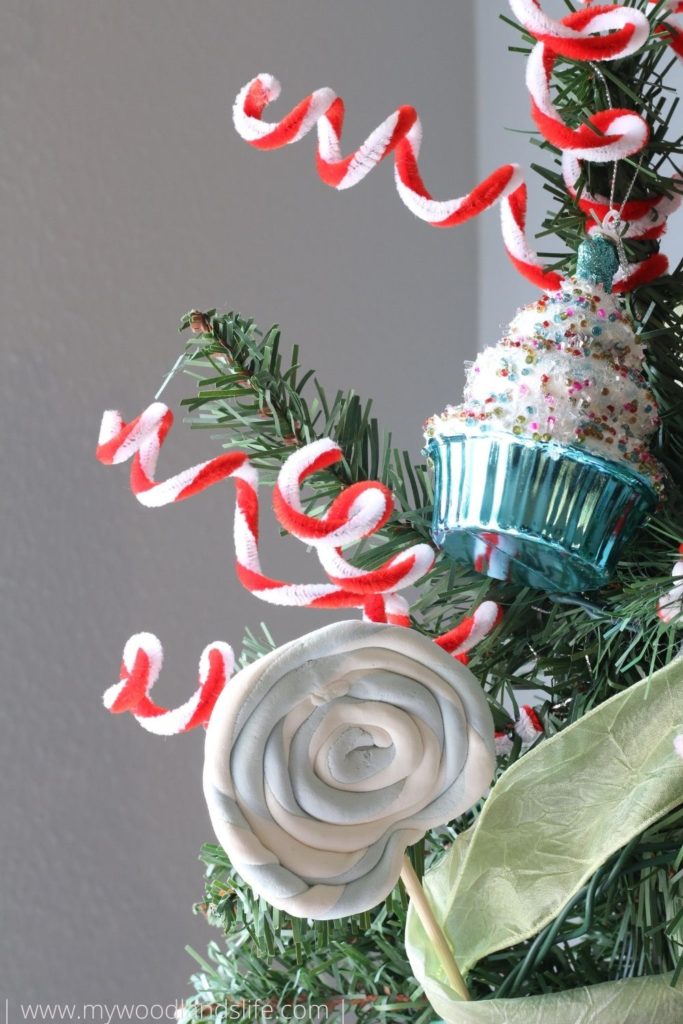
I’m looking forward to adding more soon. I will keep you posted on the progress! And be sure to check out my Instagram page (linked here) for more stories and updates on our Candyland tree.




Leave a Reply