We spent this past weekend celebrating Lamborghini’s fifth birthday. And oh how the time has flown by. He is no longer a little kid anymore. He is a smart, independent young man who is eager to take on the world. He keeps me updated with regard to the house he will live in when he grows up (near Bammie and PopPop) and all of the pets he will have (three dogs). He is already a self-professed engineer, but one who fixes sister’s stuffed-animal cats when something bad happens to them. He is extremely thoughtful, caring, and truly the best big brother anyone could ask for.
Because of COVID, we could not give Lamborghini the birthday party he wanted. However, we did spend several days with extended family, which I think he enjoyed just as much as a party. We also have one birthday tradition that Lamborghini and The Dot look forward to every year—their homemade birthday cake.
I am not a professional baker by any means, but I do have fun making themed cakes for the kids and seeing the excitement on the their faces when they see the final product. With the exception of the salted caramel chocolate cake saga (see this post for more detail), the cakes that I make are simple. Additionally, because I tend to “wing it” with the decorations, the decorating part is very forgiving.
This year, Lamborghini has requested an Om Nom cake. Because we were out of town, I haven’t had a chance to make it yet. However, I wanted to share last year’s cake, which was a big hit. It’s also really easy to put together, so if anyone else is having an at-home birthday celebration, feel free to use this for inspiration.
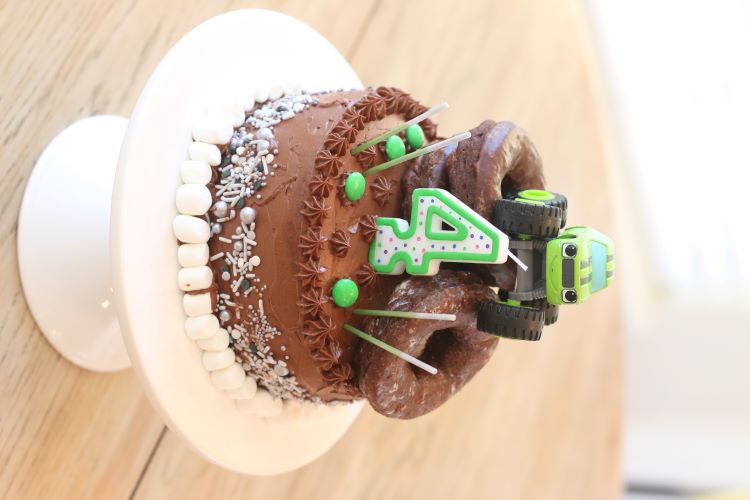
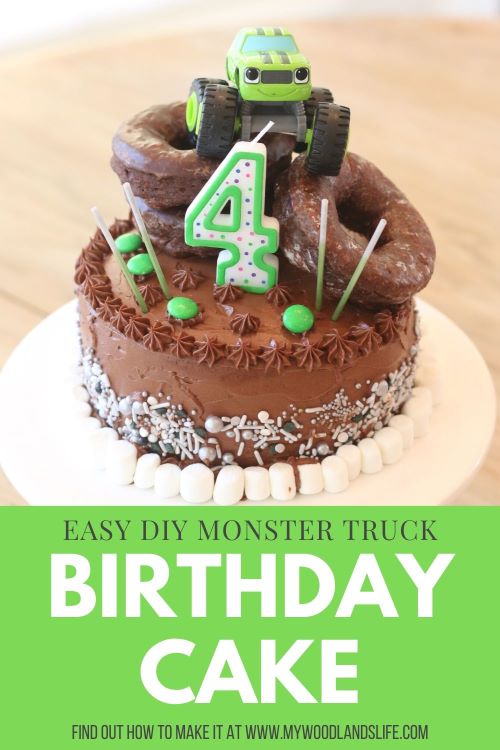
The cake is themed around Blaze and the Monster Machines, which was the kids’ favorite show at the time. The monster truck “Pickle” sits on top of this particular cake because Lamborghini’s favorite color was green and a “pickle cake” sounded funny. However, I think this cake would work well with Hot Wheels or any monster truck or car theme. It could also be a great cake for an adult or kids who loves doughnuts (just leave off the topper).
HOW TO MAKE THE BIRTHDAY CAKE AND FROSTING
To make this cake (and pretty much every cake), I used a boxed chocolate cake mix. I have made chocolate cakes from scratch, and I honestly can’t tell the difference between the made-from-scratch version and the boxed cake. The boxed cake takes a fraction of the time to make, so it wins. This may have been Duncan Hines or Betty Crocker (they both taste the same). But I do know that it cost less than $2.
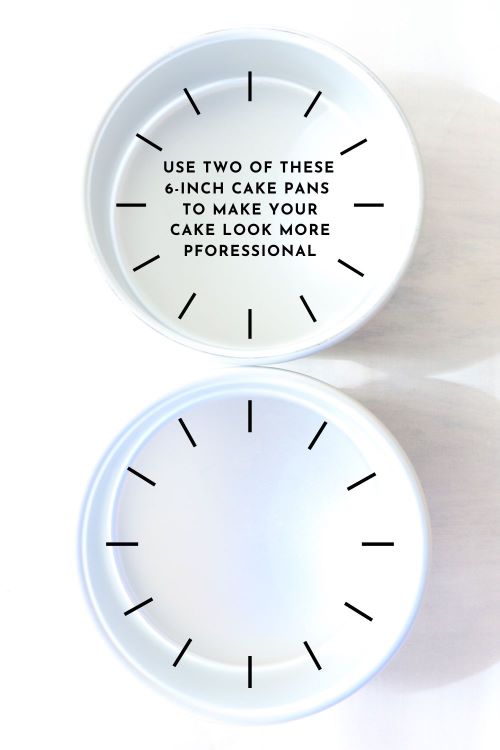
Here is the trick to making cute cakes, though. DO NOT use the pan sizes recommended on the back of the cake mix box. Instead, invest in two, six-inch cake pans (I have these) and make the cake using those.
The dimensions of the smaller cake pan make the cake look a lot more compact and professional. The added benefit to the six-inch cake pan is that you have leftover batter for six regular-sized cupcakes in case the birthday boy or girl wants to have fun decorating cupcakes with leftover icing.
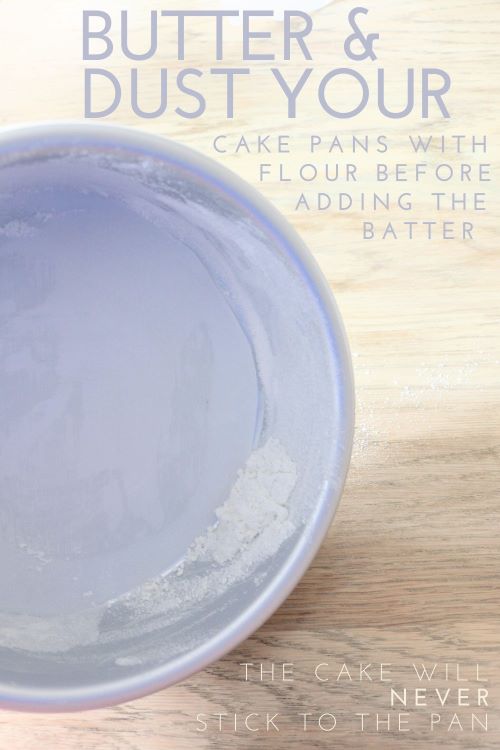
Also, to guarantee that the cake will not stick to the pan and will have a clean release, I put parchment paper at the bottom of the pan, grease the whole thing with butter and then sprinkle it with about a teaspoon of flour.
Unlike the cake, frosting is one area in which I will not skimp. At least when adults will be eating the cake. If only kids are eating the cake, you can save time by buying one of the pre-made frostings in the plastic containers. Just add 1 tablespoon of milk and mix it with electric beaters to get it to a spreadable consistency.
If you want the chocolate frosting to taste delicious, my go-to, fool-proof chocolate frosting recipe comes from this wonderful cookbook by Martha Stewart. I have tried quite a few recipes from the cookbook, and they have all turned out great. See the cake and frosting recipe below for more detailed instructions.
- 1 box cake mix and ingredients listed on box
- 1 stick of butter (for rubbing on sides of cake pans)
- 2 teaspoons all-purpose flour
- 2 six-inch cake pans
- ½ cup plus 1 tablespoon Hershey's unsweetened cocoa powder
- ½ cup plus 1 tablespoon warm water
- 1½ cups unsalted butter at room temperature
- ¼ cup confectioners' sugar (powdered sugar)
- 2¼ teaspoons kosher salt
- 1½ pounds semisweet chocolate, chopped, melted and cooled (I use the Baker's brand)
- Preheat oven according to instructions on box cake mix.
- Prepare cake pans by greasing bottom and sides of the pans with thin amount of butter. Trace bottom of pan onto parchment paper and cut out two circles slightly smaller than the pattern. Press parchment paper circles into bottom of greased cake pans. Sprinkle one teaspoon of flour into each pan and turn pan so that flour coats all sides. Remove excess flour by holding pan upside down and tapping it against sink.
- Mix together ingredients listed on box cake mix using instructions on boxed cake mix.
- Pour into six-inch cake pans until pans are filled approximately ⅔ full.
- Bake according to box instructions for 9" rounds, but start checking cake 5 minutes earlier. Bake until toothpick inserted into center comes out clean.
- Cool before removing from pan. When cake reaches room temperature, cover with plastic wrap and refrigerate.
- Note: The cake will come out domed and slightly cracked on top. After cake is refrigerated, cut off most of the dome with a bread knife. To assemble cake, put the two "ugly" sides together (i.e., the top section will be upside down). When it is covered in frosting, it will look like a perfect cylinder.
- Mix cocoa and warm water in bowl until combined.
- Use electric mixer or stand mixer with paddle attachment to mix butter, confectioners' sugar, and salt approximately 5 minutes until lightened in color and fluffy.
- With mixer running, slowly add melted chocolate and then cocoa mixture. Mix until combined.
- Frosting can be refrigerated, but bring to room temperature before use.
HOW TO PREPARE AND FROST THE BIRTHDAY CAKE
As I mentioned above, I am not a professional baker so my icing skills leave something to be desired. One of my favorite YouTube baking instructors is Cupcake Jemma. She provides an excellent video tutorial on how to frost a cake. Check it out here. She also makes it look super easy. Believe me when I say it is not easy. However, the beauty of this monster truck birthday cake is that you do not have to ice the cake well in order for it to look cute. Just be sure to put parchment paper under the edges of the cake before icing it so that you have a clean cake stand upon which the cake can sit and shine in all of its cuteness. (You can also invest in one of these cake spinner things and transfer the cake from that onto the display stand. I have the spinner thing, but didn’t use it for this cake. I just iced the cake on the cake stand and removed the parchment paper very carefully).
You WILL need the following tools:
- Icing tip No. 30 for star pattern (this set is inexpensive and includes a lot of other fun tips)
- Pastry bags to hold icing (highly recommend these for super-easy cleanup especially if you want kids to help) or ziplock bags with small corner cut out
- 9-inch icing spatula (this set is useful if you get into icing cakes)
- Parchment paper
OPTIONAL tools:
- Icing tip No. 1A and large coupler for frosting cake (can purchase tip and coupler on Amazon, but check local craft or baking supply stores for lower price) or use 9-inch spatula, above, to “glop” the icing on and smooth it out
- Icing scraper (I have one similar to this)
- Cake spinner (I have this one)
HOW TO DECORATE THE CAKE
This is the fun part. It’s also completely customizable to your desired cake.
For the “pickle cake,” I used the following decorations:
- Three chocolate doughnuts (purchased from the Kroger bakery department)
- Silver sprinkles (similar in this set)
- Mini marshmallows
- Green M&Ms
- Number “4” candle (similar here)
- Green sparkler candles (I found at local grocery store, but Amazon has cute ones here)
- Pickle monster truck (out of stock here, but check children’s resale shops or use truck/car of choice)
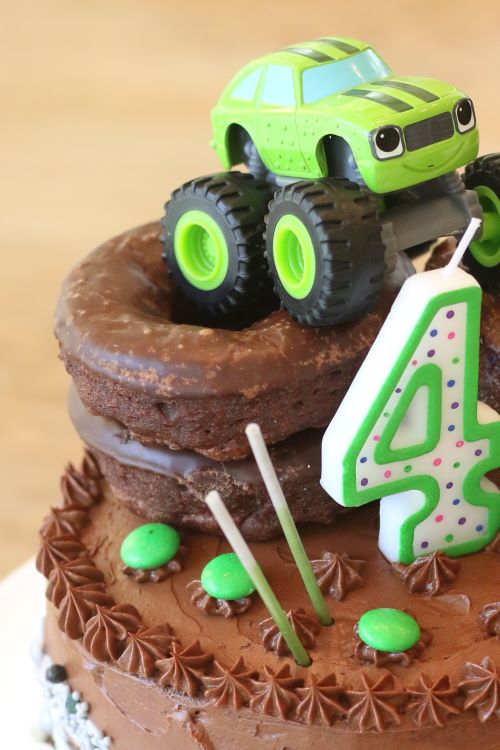
I started by piping the star pattern along the top rim of the cake. I then took handfuls of the silver and black sprinkles and pressed them onto the bottom half of the cake. The marshmallows went on the bottom rim of the cake to cover any sprinkle mishaps. The donuts were stacked on next. Then I made a few more star patterns on top of the cake and covered up the “ugly” ones with green M&Ms (“m” side down). Lastly came the candles and Pickle the monster truck atop his doughnut/tire mound.
MORE MONSTER TRUCK INSPIRATION
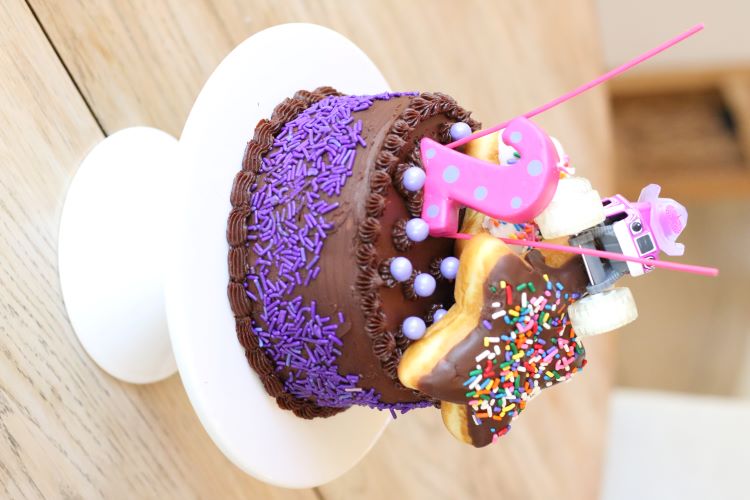
Poor sister has been struggling with having the whole weekend dedicated to Lamborghini’s birthday. But I will not leave her out of this post! Like all doting siblings, she too requested a monster truck birthday cake for her birthday. Here is The Dot’s cake from the same year:
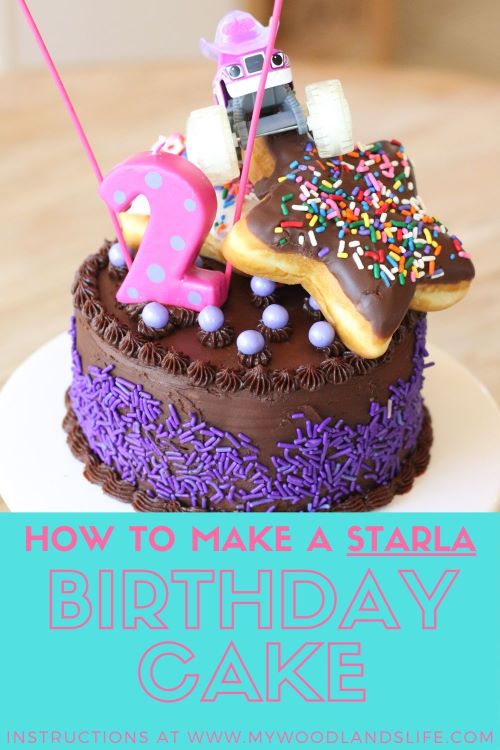
She of course wanted a Blaze and the Monster Machines birthday cake too. But she’s all about Starla. And purple. For the “Starla cake,” I used the following decorations:
- Star doughnuts, one white, one chocolate (purchased from the Kroger bakery department)
- Purple sprinkles (similar in this set)
- Purple sixlets (I found at local grocery store, but Amazon has them here)
- Number “2” candle (similar here)
- Two sparkler candles (I found at local grocery store, but Amazon has cute ones here)
- Pickle monster truck (out of stock here, but again check children’s resale shops or use truck/car of choice)
And that’s it. Super easy, super cute birthday cakes you can make at home. Or if you don’t like the baking part, buy a blank chocolate cake at the grocery store and add your own decorations. Or let your kids help make the cake (or those cupcakes I mentioned above). Feel free to pin the images below if you’d like to save these ideas for later.
And that’s all for this post. Feel free to comment if you have any questions or if I left out anything in the instructions above. Next week, I’ll get back to posting about white walls and board and batten. And hopefully I will have good news to report about that Om Nom cake. Fingers crossed!


Leave a Reply