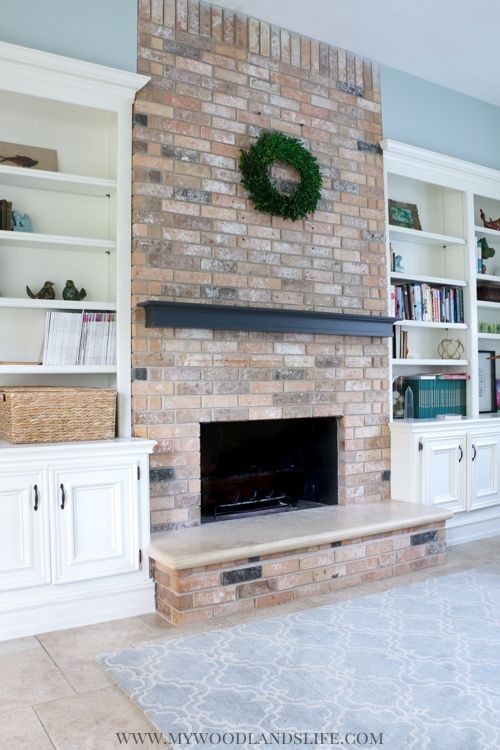
I finally had time to photograph the updates we’ve made to our family room. This room is right off of the kitchen and is one of my favorite rooms in the house. It gets great light from large windows on each side of the room, and we spend a lot of our time here between homeschooling, playing, and working (remember my corner office?). If you’ve been following my blog, you know we don’t live near the coast. However, that’s my favorite design style right now, so we are rolling with it. Check out our coastal family room:
And here’s what the family room looked like before (please excuse the Lego explosion):
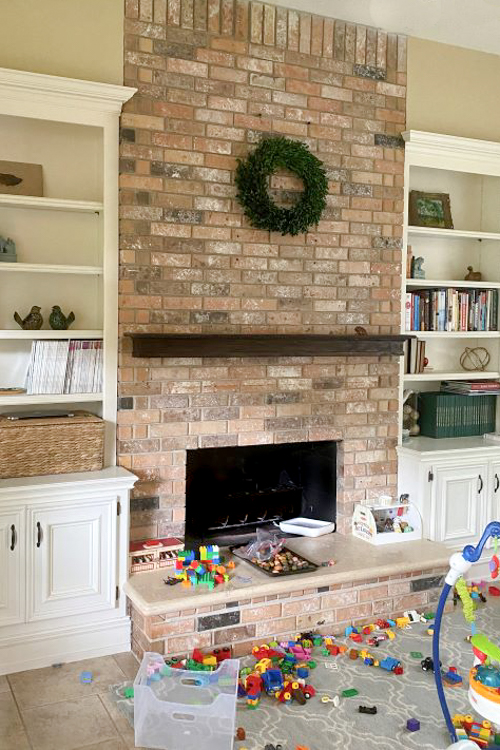
I’ll admit that the main difference between the two photos is the wall color and the absence of Legos. But it’s hard to capture the entire room in one photo. Keep on reading to see all of the changes I made.
New Paint Color
After painting the rest of the downstairs white, this room didn’t fit in anymore. It was the same yellow color that originally covered the other walls.
In a perfect world, I would have painted everything white again like I did with the other rooms in the house. However, this room has a behemoth set of built-ins lining one wall that would need to be repainted too, and that is too much of a commitment for me at this time. Try as I might, it was impossible to match a white to the oil paint that had yellowed over time. So I decided to join the blue-grey bandwagon.
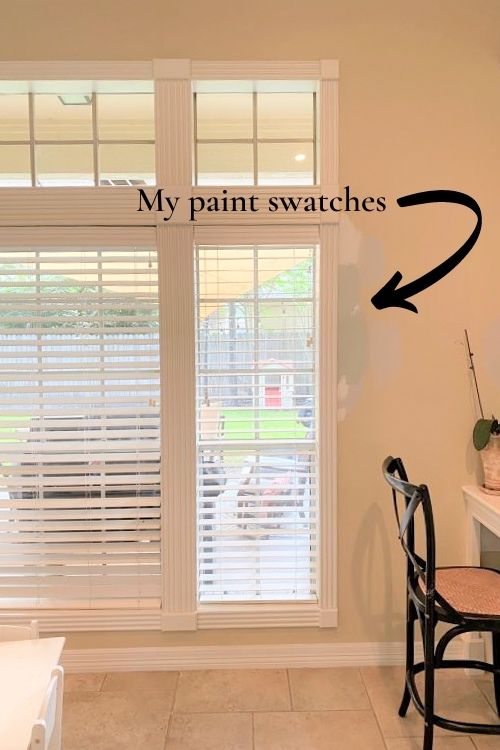
After testing what seemed like 100 samples (but it was really 10), I settled on Comfort Grey. This room really hit home that you can’t trust the paint swatch. So many greys turned purple when I painted them on the wall and in the sunlight throughout the day they changed too. Indeed, the Revere Grey that I used in the kitchen three feet away was a lavender purple in this room.
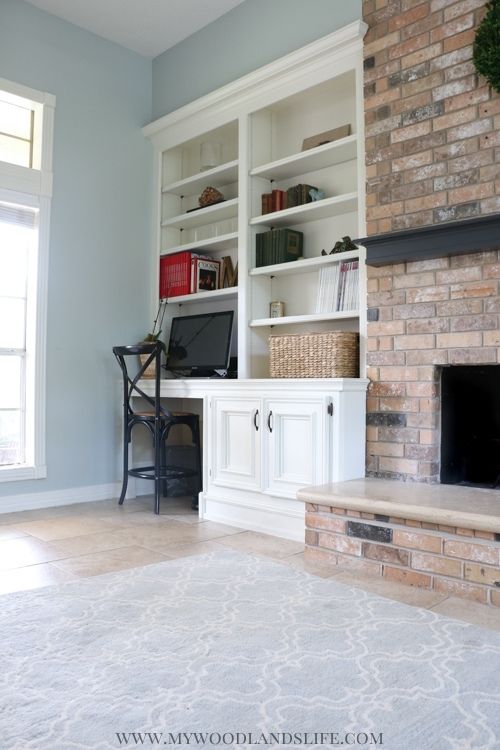
In the end, we decided to go with Sherwin Williams Comfort Gray. Sherwin Williams has nice-sized sample paints, so I painted an entire wall with the sample. After living with Comfort Gray a few days, we felt that it was too dark so we had it lightened to 75% when we purchased the full gallon size.
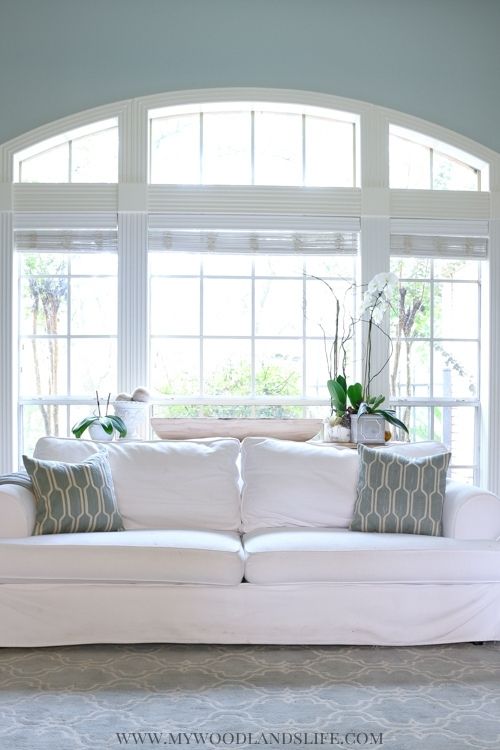
I may go all white eventually, but for now I like how the blue-grey contrasts with our white furniture and the built-in shelves. The color also gives the room a modern coastal feel, which I love.
DIY Shiplap Bar
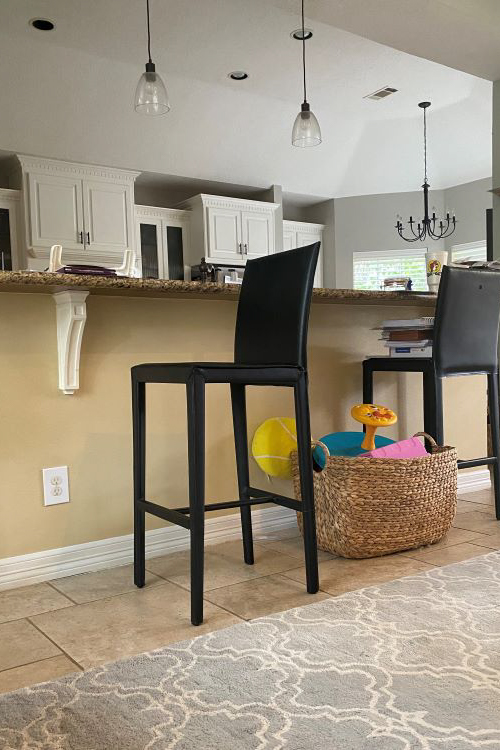
Speaking of coastal, we also spruced up the bar that adjoins the kitchen with DIY shiplap. This was a relatively inexpensive project and the results made it worthwhile.
This is what the bar area looked like before we added the shiplap:
And here’s the after:
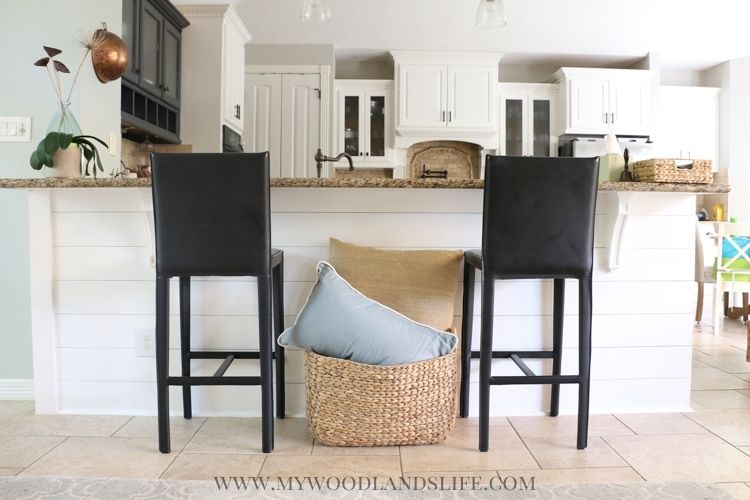
It always bothered me that the bar was not symmetrical, and we fixed that somewhat by the way we finished off the ends of the shiplap. On the longer side, we installed a vertical trim piece. On the shorter side, we didn’t install any trim, but instead have the shiplap wrap around into the kitchen.
Coastal Style Decor
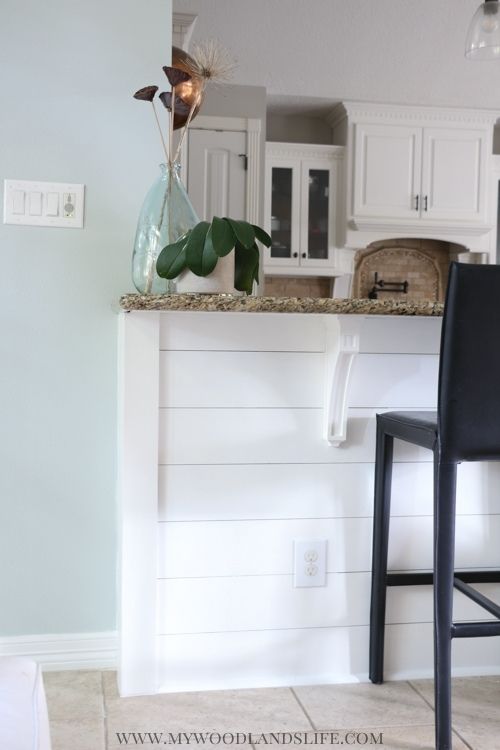
I put a blue glass vase on the bar to add a coastal vibe. I found our vase at World Market (link here), but I have seen several variations of this vase at HomeGoods. Amazon also has a number of options too (click the photo to go to the Amazon link):


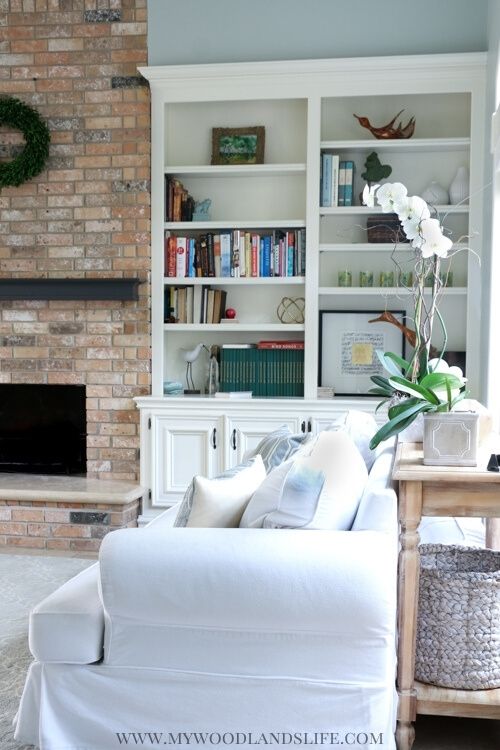
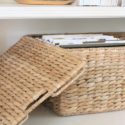
Seagrass baskets are another coastal decor item that I really like because they are so functional. I’ve always been a seagrass basket junkie and have a number of them placed around the room. I hide all of the baby’s diapers in this one (from Target) under our console table:
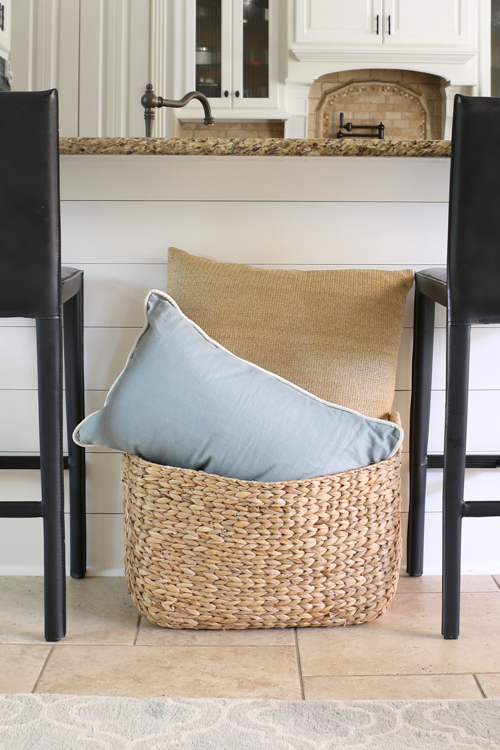
I found this basket at HomeGoods and use it to corral all of the kids’ toys:
Repainted Mantel
The last change we made to the room was painting the fireplace mantel a dark grey color. I was never a fan of the original mantel, which had a distressed wood look to it. Whoever “distressed” the mantel dragged a blunt object across the wood so it would have a bunch of thick divots.
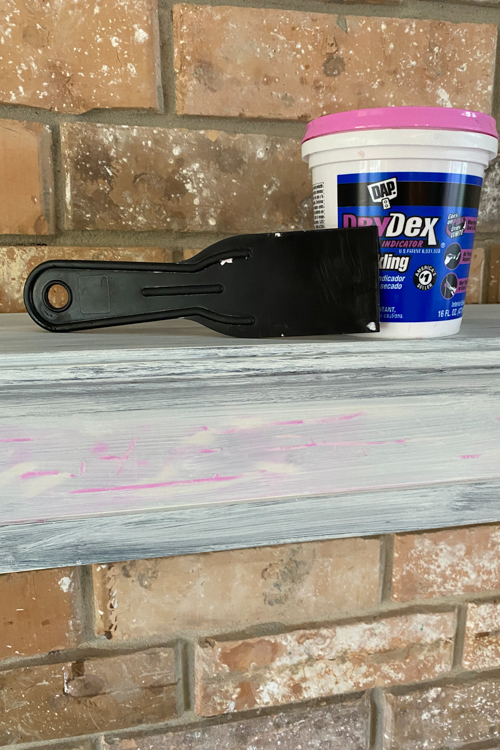
I started by priming the whole mantel with my favorite primer (Amazon link here). Then I filled in the divots with spackling. I like the DryDex brand (linked here) because it changes color when the paste is dry. After the spackling paste dried, I sanded everything flat with a high-grit sanding block.
Next came the paint. To keep costs down, I decided to use my leftover Benjamin Moore Advance in Wrought Iron. This is the same paint I used on my kitchen island, and it is incredibly durable. I love that the color is somewhere between a grey and a black.
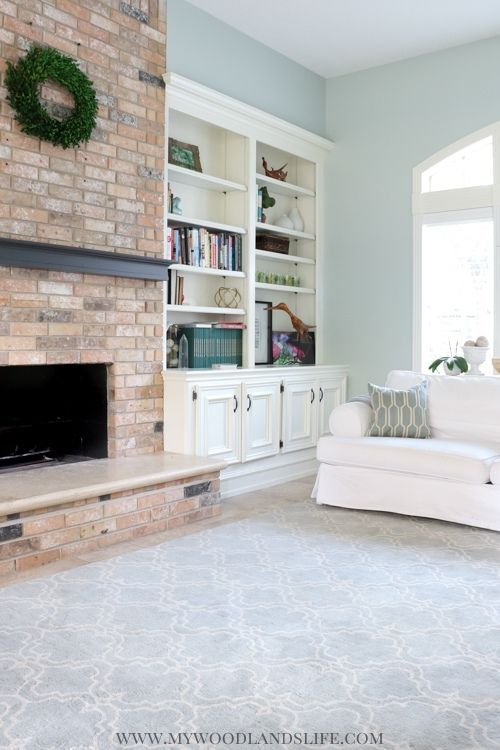
Overall, I think the small update gives the fireplace a cleaner look. And I’m so glad I don’t have to look at those divots anymore! Plus it’s so much easier to dust a painted mantel. My dust cloth would always stick to the stained wood and leave little remnants of the cloth behind. The new painted mantel is a huge improvement.
Coastal For Now
I still need to change out the throw pillows on the couch, and if you saw my post last week, I already updated the floral arrangement on the console table behind the couch. But there’s always more to do! As I’ve said, I’m not entirely sure the room fits in with the rest of the house, but it makes me happy. It’s my little reminder of the beach and the fun times we have on the coast at Port A. I’m sure I’ll repaint in a few years but for now I’ll enjoy my little piece of the coast.




Leave a Reply