Remember the natural oak tinted wax tutorial from last week? Well let me show you where we installed the shelf that we made: our newly updated powder room:
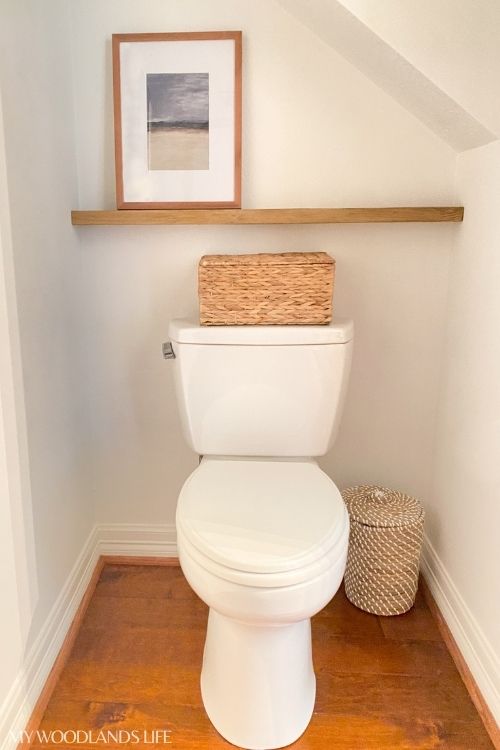
This was truly the last room in the entire house I had not touched with a paintbrush. And it was quite the odd-room-out because every other room in the downstairs area is white or grey, and this small bathroom was the old yellow color. As the only downstairs guest bathroom, it is also the most frequented room by family and guests. I had to get it up to date.
Here’s what it looked like before (my apologies for the horrible lighting):
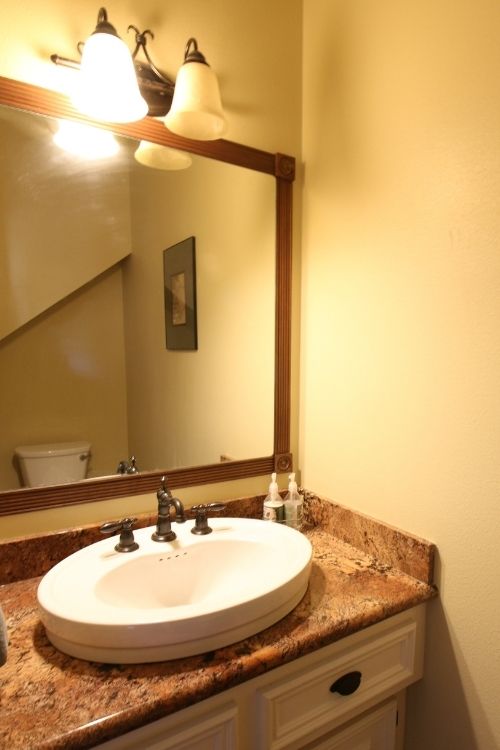
Yellow, yellow, yellow with a blah framed mirror. Not bad, but not great. For my sanity, it needed to change.
And here’s what the same spot looks like now:
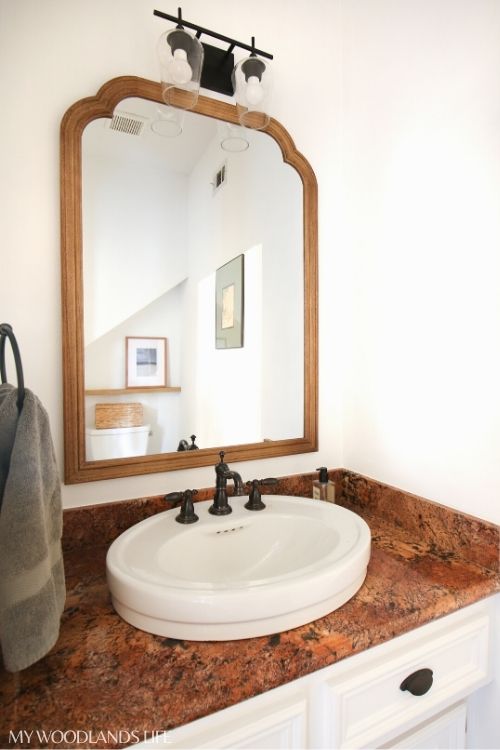
I’ll walk you through the process of how we made this budget-friendly update to our powder room.
The Mirror
I had quite the time building up the gumption to remove the old mirror. I was so afraid it would break and slice my legs during the removal process that I was decked out in rain boots, Mr. L’s jeans, gloves, safety glasses, and a long-sleeved thick shirt. In addition to myself, I protected the counter and floor below the mirror with a thick blanket.
I watched this tutorial on YouTube, followed the instructions, and the mirror easily popped off in one piece. I used a flat prybar set (Amazon link here) and a thin board to wedge behind the mirror and tapped the longer prybar with a mallet behind the top edges of the mirror. Then after loosening the edges a bit, I tugged on the mirror until it came off the wall. The removal left some minor tears in the drywall because the old mirror was glued onto the wall, but I was putting another mirror over it so I didn’t worry too much.
Which brings me to the next subject: the new mirror!
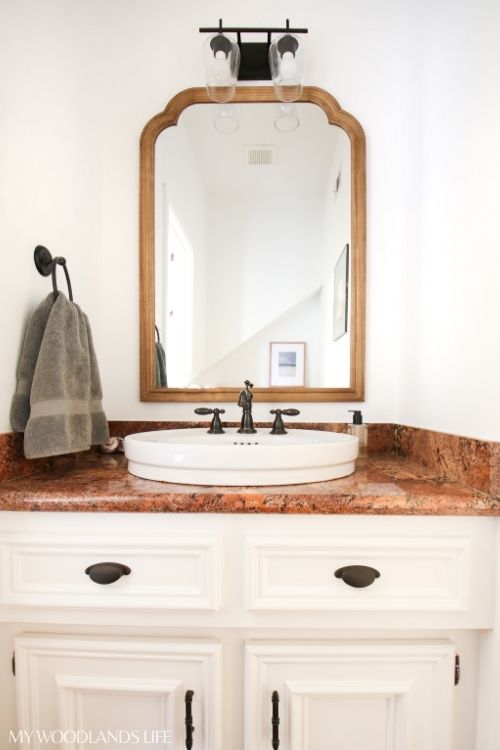
I purchased the modern French country style mirror at Target several months ago (Target link here) and had it sitting in my bedroom for what seemed like ages. The mirror is such a great price and a very versatile piece. It almost didn’t make it out of the bedroom because I wanted to buy another one and put them on either side of the bed, but frugalness prevailed.
The wide-angle lens that I had to use to take this shot doesn’t do the mirror justice. In reality, the mirror is a lot taller than it looks in the photos. The small bathroom looks a lot bigger than it did before.
The Paint
Before we could install the mirror, I had to get rid of that yellow paint. I used my leftover Benjamin Moore Chantilly Lace paint from when I painted our entryway and living room. Painting a room white is like the book When You Give a Mouse a Cookie because when you paint one thing white, you start to notice how the previously white trim isn’t really “white” at all and go down a painting vortex. Luckily our powder room is small, so it didn’t take me too long to also prime and paint the cabinets and trim with BM Advance in Chantilly Lace.
The Light Fixture
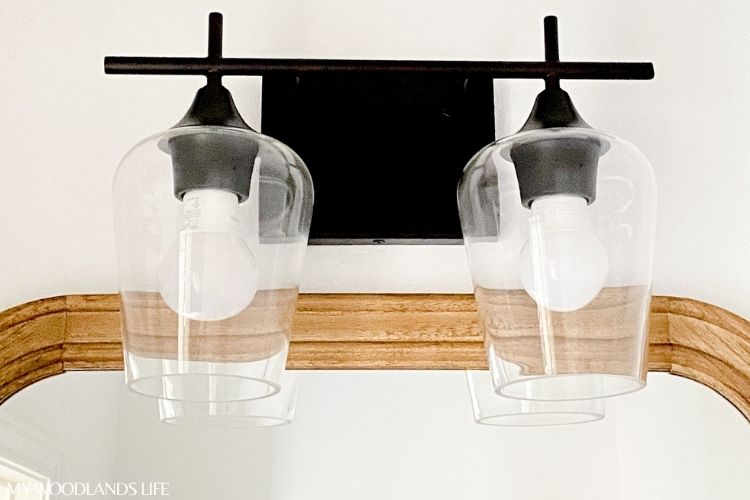
After painting, we installed the new mirror and this light fixture from Wayfair that I have had on my wish list for a while.
The DIY Wood Shelf
Finally, we added our DIY natural wood-stained shelf to the wall behind the toilet.
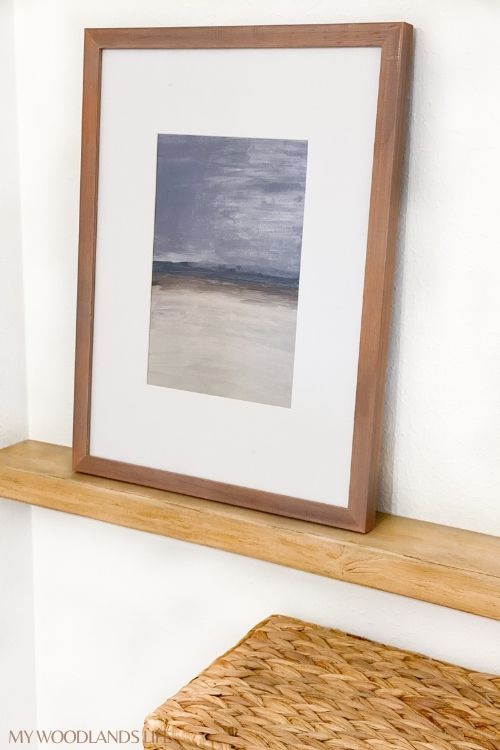
The shelf is just a 2×4 pine stud piece that we stained and installed into the studs on the wall. See the staining and installation process in this post.
Finishing Touches
I purchased this basket from The Container Store to hold baby wipes, trash bags, and extra toilet paper. Then I found this cute woven trash can at Target (similar here):
A trash can with a lid is a “must” for powder rooms in my opinion. Especially with kids. They look so much neater and keep exploring hands out.
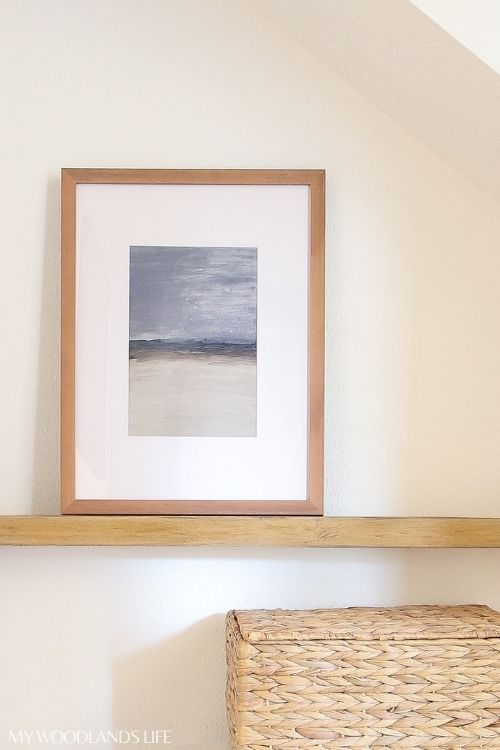
The artwork on the shelf is also an inexpensive Target find (linked here).
And now I am so very happy that the powder room fits in with the rest of the house. Of course I’m pretty sure that I have a coastal/Palm Beach/Modern traditional thing going on in the downstairs that I should probably try to combine into one aesthetic. But for now I will accept fresh paint and accessories as a victory.




Leave a Reply