Does anyone else look forward to their Serena and Lily catalog like the 1990s me anxiously waiting for the Spiegel catalog to arrive? I certainly do. For years, I have admired Serena and Lily’s Driftaway coffee table. It is simple and modern, but also has that coastal vibe that can translate to non-coastal homes. While I have have been lucky to snag Serena and Lily bedding and pillows during sales, I can’t (nor could I probably ever) justify spending $1,000+ on a coffee table, especially when my kids are involved. I’ve had this Serena and Lily inspired IKEA coffee table hack mulling around in my head for a while, and I’m excited to finally share the results with you.
You may recall my soiree with peel and stick wallpaper in the entryway (see that post here). This time I decided to apply peel and stick wallpaper to an inexpensive IKEA LACK coffee table to give it a Serena and Lily look. Here’s how it turned out:
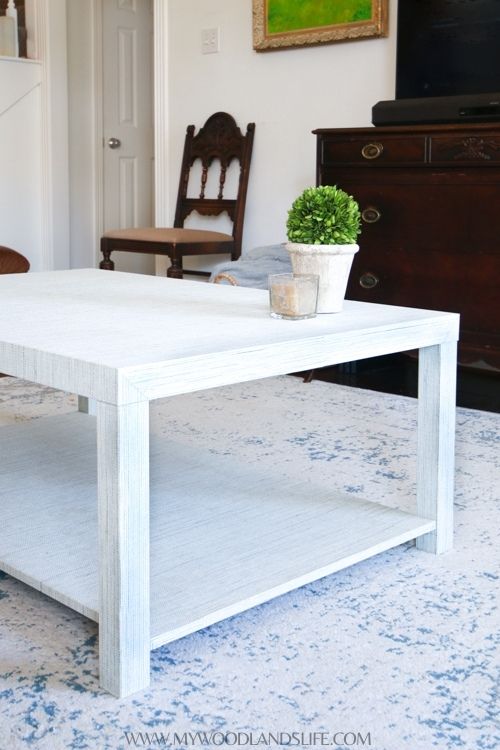
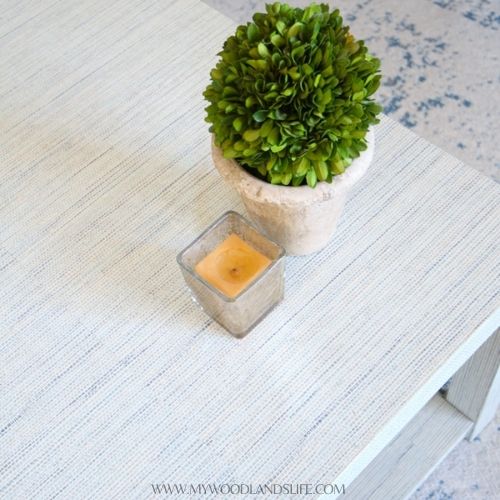
Pretty close to the real thing I think! The faux grasscloth wallpaper adds texture to the previously plain white IKEA coffee table. And the light and dark blue grasscloth pattern gives the coffee table a coastal but neutral feel.
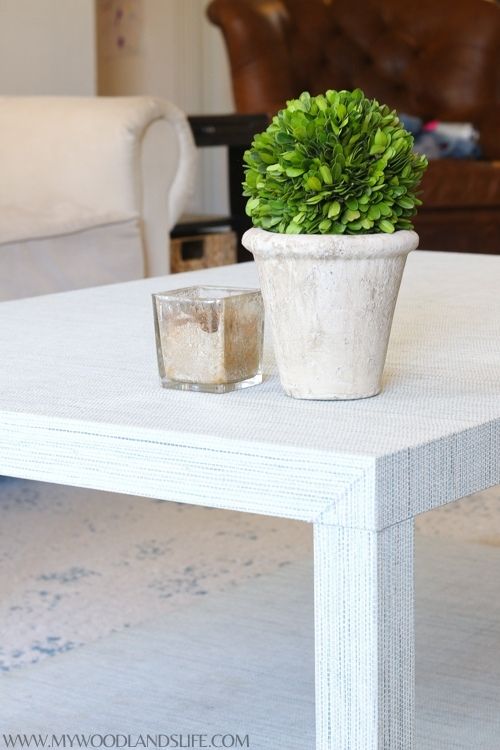
In case you want to try out this IKEA hack too, I have set forth all of my steps and supplies below. This project took me about five hours total, but I think it could be done in less time with these instructions.
I worked on the project at night while the kids were asleep, so my apologies for the low-light photography.
Selecting your wallpaper
The hardest part of the entire coffee makeover was choosing the peel-and-stick wallpaper. Serena and Lily wraps their Driftaway coffee table in linen to give it a textured and natural fiber look. While I was very tempted to try that out myself, I wanted quick results. My first thought was to apply grasscloth wallpaper to the coffee table to achieve a similar texture. However, grasscloth does not do well around water and humidity, and let’s face it–they’re called “coffee” tables for a reason. I knew from my entryway project that vinyl peel and stick wallpaper might be a good option. It is fairly robust when installed and, unlike paper wallpaper, it’s wipeable.
The only problem? There are a lot of wallpaper duds out there. I ordered a few vinyl grasscloth options from Amazon that looked promising, but in person they were obviously a printed pattern (see below):
Then I started searching for “textured vinyl wallpaper” and got some good hits at Lowe’s. The one I settled on was the Scott Living 30.75-sq ft Blue Vinyl Textured Abstract 3D Self-Adhesive Peel and Stick Wallpaper in “Seagrass Mist” (linked here):
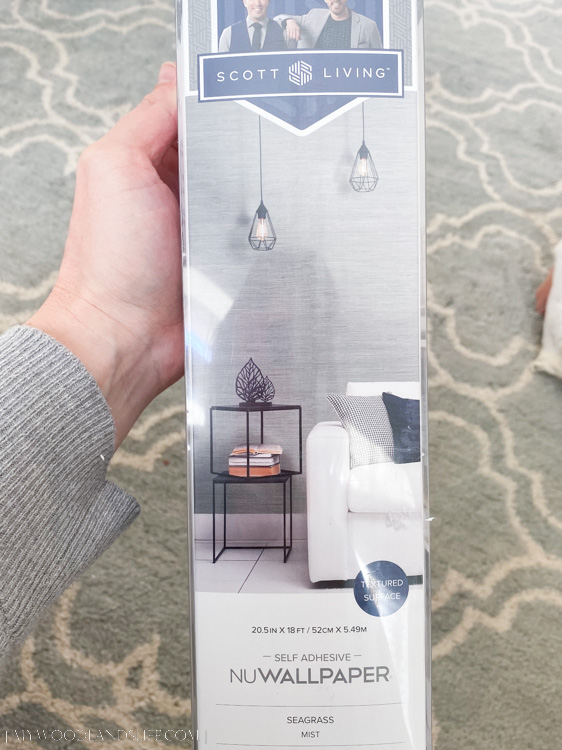
This peel and stick wallpaper checked all of the boxes: It’s vinyl. It’s wipeable. The color is a nice coastal blue. And the best part–it has a raised texture printed on top of the pattern that comes pretty close to looking like real grasscloth.
Supplies
The supplies I used to cut and apply the wallpaper are nearly identical to those I used when I installed the peel and stick wallpaper in our entryway. The rotary cutting mat and transparent ruler make cutting the wallpaper so much easier, especially in this case because the Scott Living wallpaper does not have any lines on the back. If you do not have a cutting mat, I highly recommend using a good straight-edge and carpenter or T-square to make sure you are cutting a straight line.
- IKEA LACK coffee table – I used the larger LACK coffee table measuring 46.5″ x 30.75″
- Wallpaper (20.5″ x 216″) – I used one roll of this Scott Living brand wallpaper from Lowes **see note below**
- Rotary cutting mat (Amazon link here to similar mat)
- Acrylic cutting ruler (Amazon link here)
- Plastic putty knife 3 in. (at hardware stores or can buy this set on Amazon)
- Utility knife (I like this one)
- Micro-tip scissors (I used scissors similar to these from my sewing supply kit)
- Pencil
- Super glue (I used this Loctite super glue)
- Phillips head screwdriver (for assembling the IKEA coffee table)
Note on how much wallpaper you will need
The wallpaper I used was 20.5-in by 18-ft (216-in). It was just enough to cover the entire surface of the coffee table. I did not wrap the underside of the coffee table, and it is not visible unless you are my kids and under the table at all times.
As I’ve set out in more detail below, I did have to piece together the wallpaper on the bottom section of the coffee table to avoid purchasing another roll of wallpaper. I was able to line up the pattern so it is not noticeable unless you look very closely.
Cut list
These are the cuts I made for the specific brand of wallpaper I used (this Scott Living brand wallpaper from Lowes). If you decide to use another brand of wallpaper, you’ll need to plan out your measurements before making any cuts. And measure twice!
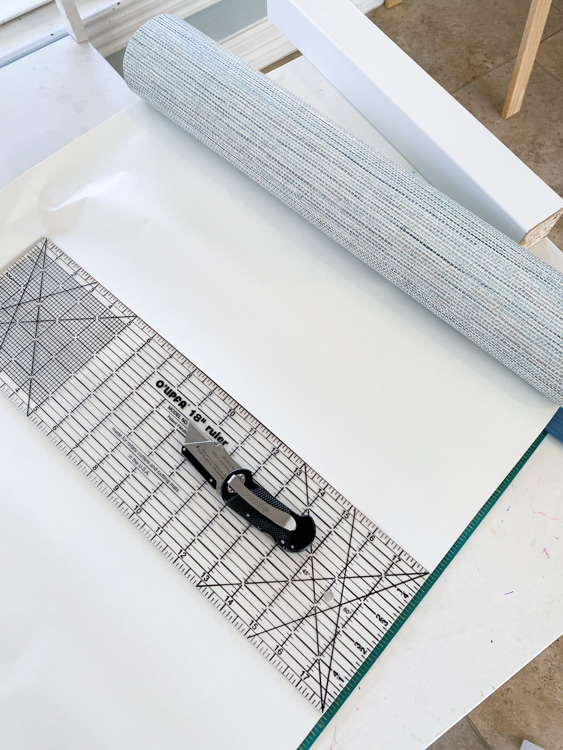
Each of the following cuts is for cutting along the length of the wallpaper as shown in the photo above. I’ve noted in parenthesis any additional cuts that need to be made to the individual pieces.
- A (legs) – 4 @ 8.5″ (then cut to 16.5″ length)
- B (table top) – 2 @ 54″
- C (table bottom center) – 1 @ 48.5″
- D (table bottom sides) – you should have 1 @ 25.5″ left over (cut this sheet into quarters length-wise, against the grain of the wallpaper, so you have four long thin sheets measuring approximately 25.5″ long by 5.125″ wide)
Instructions
Step 1: Wrap the legs with the four “A” sheets
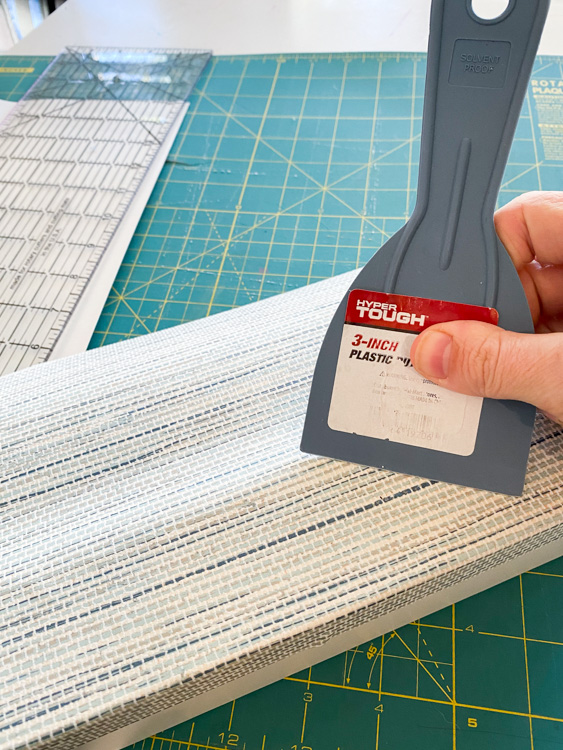
I preferred to have the grasscloth lines running vertically up the coffee table legs, so I measured four, 8.5″ wide pieces and cut them down to 16.5″ long (the length of the coffee table legs plus a half inch). I started wrapping the wallpaper around the leg pieces, smoothing out the paper with my putty knife as I worked my way around. This brand of wallpaper has a tendency to leave bubbles under the surface if you do not smooth it out with a good amount of pressure.
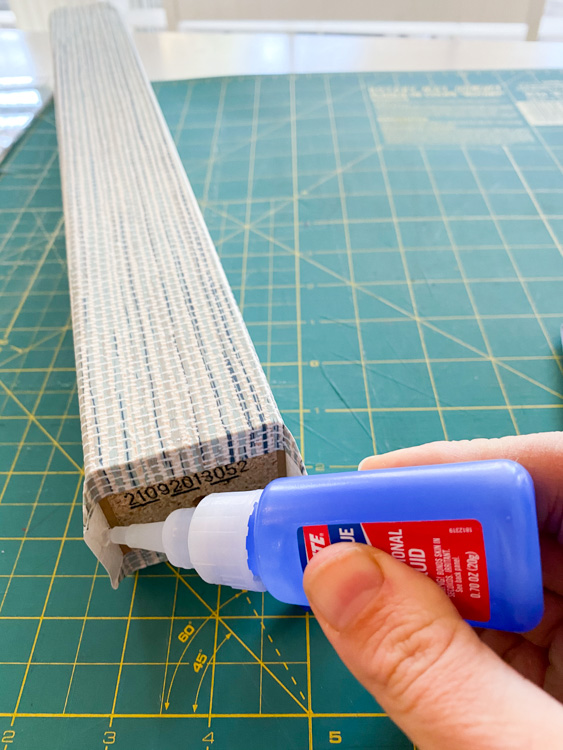
After the entire leg surface was covered, I folded down the ends of the wallpaper like I would if I were wrapping a gift. For extra hold, I used super glue to secure the wallpaper to the top and bottom of the legs.
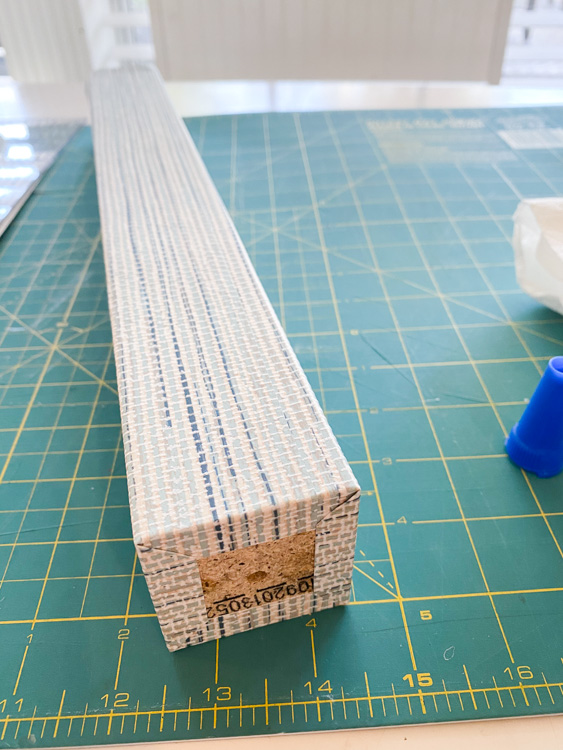
Here’s the final result:
Step 2: Wallpaper the coffee table top with the two “B” sheets
Use a straight edge and pencil to mark 16.5″ along the length of the coffee table top. Then attach your first “B” piece along this line. Be sure to smooth out the paper with the putty knife as you work your way down the top.
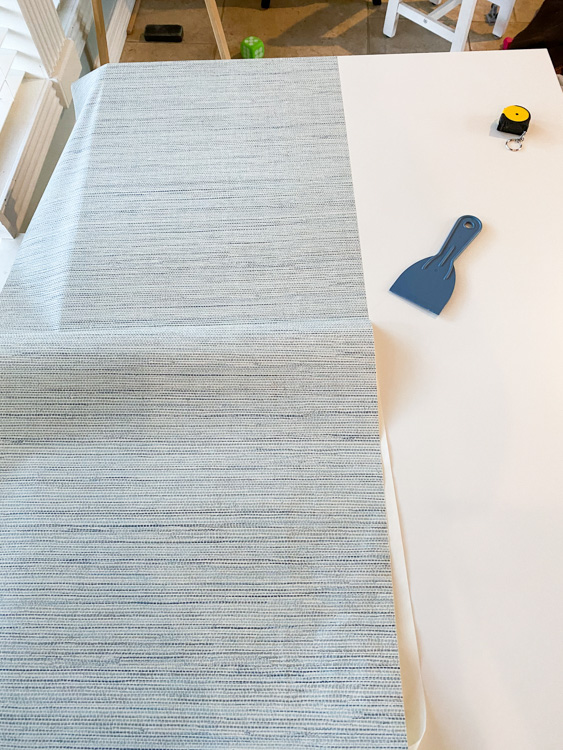
Apply the second “B” sheet on the other side, but have it overlap the first “B” sheet by approximately 1 inch. Smooth it out with the putty knife and fold and press down the edges as well.
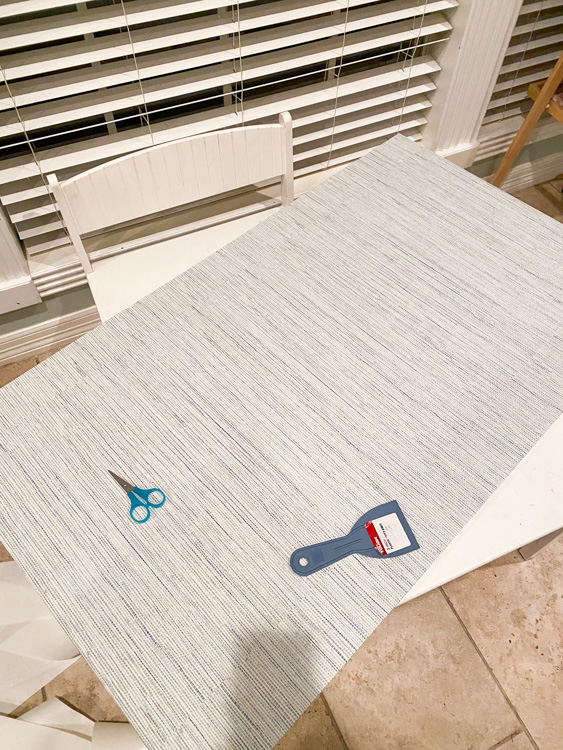
You will be able to see the seam along the center a bit, but that’s the nature of grasscloth. The slight imperfection doesn’t bother me.
I finished out the ends of the coffee table top using the same gift-wrapping technique and secured the fold with super glue:
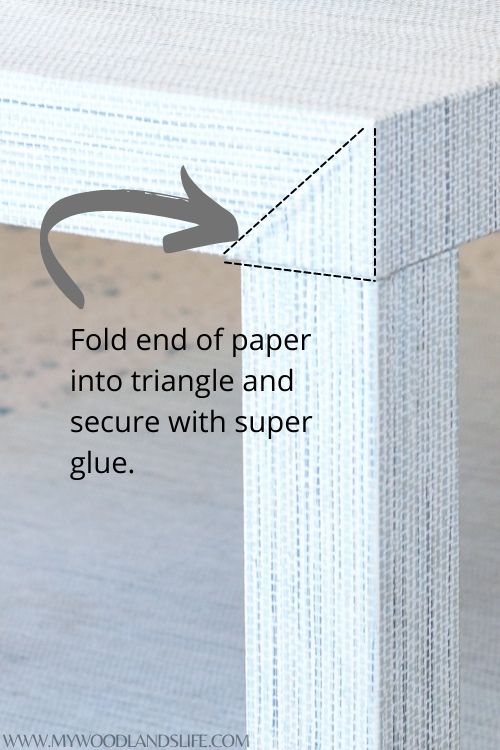
I regret not having a better photo of how I finished the edges, so if this doesn’t make sense please let me know in the comments and I’ll try to explain in more detail.
Step 3: Wallpaper the coffee table bottom with the 1 “C” sheet and the 4 “D” sheets
Ok. So this is where the “measure twice” part should have come in for me because I completely messed this part up and accidentally cut my “C” sheet into four pieces. I then had to piece it back together along with the “D” sheets, and it took quite a while lining everything up. Needless to say, I do not have photos of this process because you do not want to do what I did.
This is what I should have done, though: take the “C” piece and apply it along the center of the coffee table bottom. Then take your “D” pieces and apply them on either side of the “C” piece to fill in the remaining gaps. You’ll want the “D” pieces to overlap the “C” piece a little bit. Try to match up the pattern as best as you can so it looks seamless.
Step 4: Assemble the IKEA coffee table with one modification
This part is super easy because you basically just follow the IKEA assembly instructions but with one slight modification to give the coffee table a more modern look. IKEA suggests installing the coffee table bottom at a mid-way point, which you mark using their handy stencil. Don’t do that. It doesn’t look great.
For a higher-end look, install the coffee table bottom piece at 1.5 inches. Start by marking the 1.5 inch mark on the interior of all four legs.
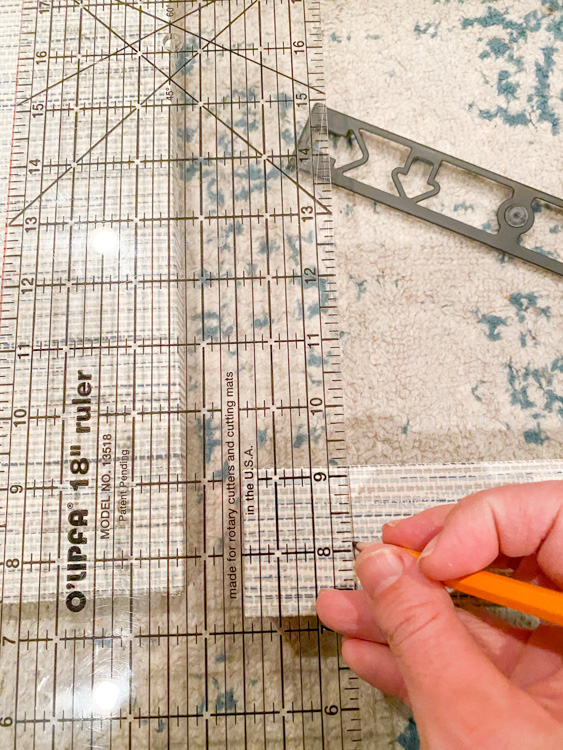
Next, use the IKEA stencil to mark the midpoint of your line. That’s where you will install the bottom piece mounting hardware.
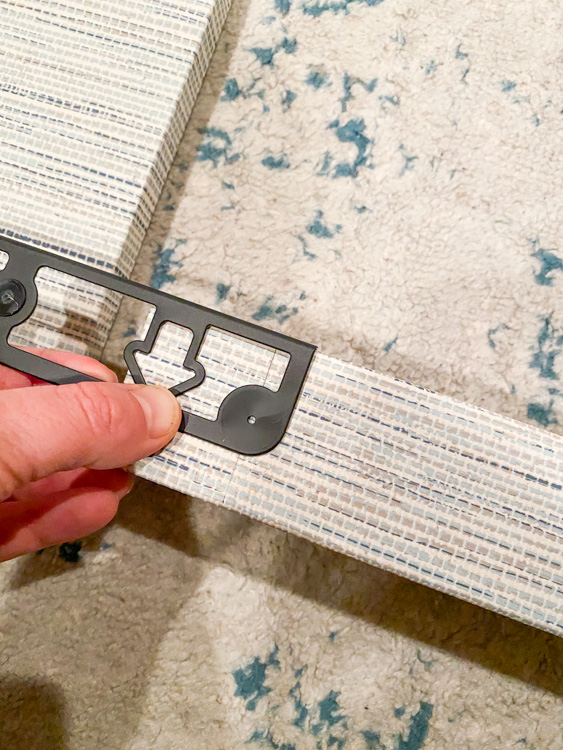
NOTE: There are little pilot holes drilled into the sides of the bottom piece where you are supposed to screw in the other side of the mounting hardware. These will be covered up by our wallpaper, but you should be able to locate them by gently feeling around with the screw once you have everything lined up and in place. Or you can look for them ahead of time and use your micro-scissors to open the hole.
A few more recommendations:
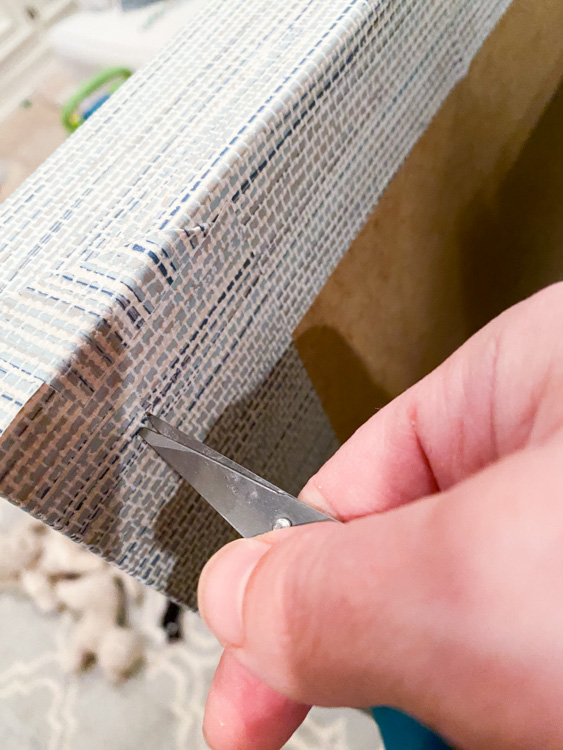
When installing the legs to the coffee table top, use your micro-scissors to find the pre-drilled pilot hole on the underside of the top. Then use the scissors poke through the wallpaper to expose the hole:
Don’t over-torque the legs when installing them. You don’t want to dislodge the wallpaper ends.
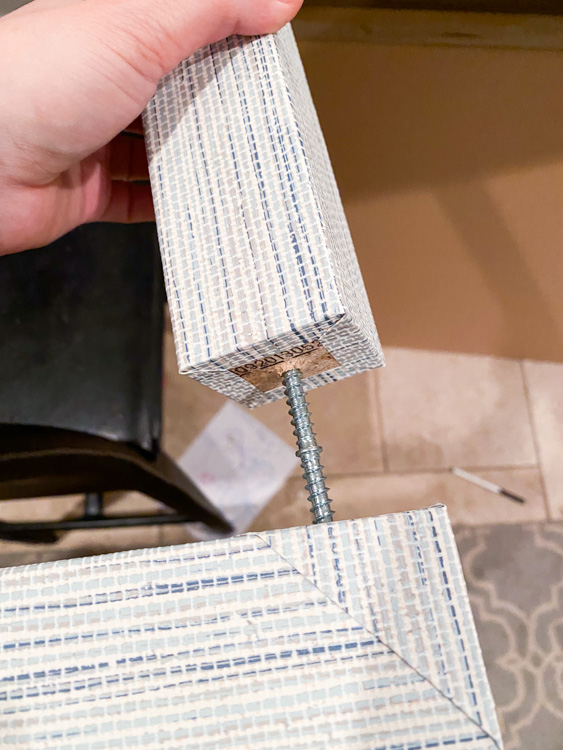
I’ll note too that this is one of the easiest IKEA pieces I’ve ever put together, so don’t get discouraged by the mention of IKEA assembly instructions. I was able to do it by myself in under 30 minutes.
Protecting your work
I personally haven’t done this step yet because I’m in part curious to see how the vinyl holds up and also don’t want to mess with fumes with the baby in the house. However, I do plan to test out lacquer on some leftover strips of wallpaper to see how it holds up. I found this YouTube instructional online for applying spray lacquer and will probably use the Mohawk brand of spray they recommend (Amazon link here). I’ll update this post when I get around to testing the lacquer.
Admire your work
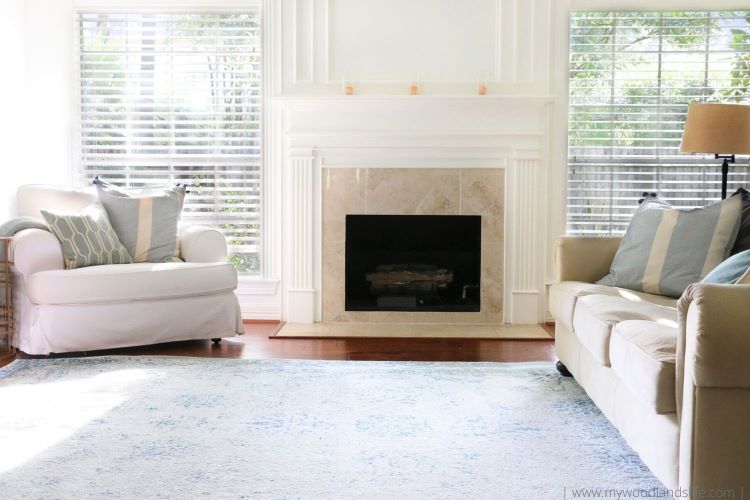
I posted the before and after of the coffee table above, but here’s a before and after of our living room.
Before:
And after:
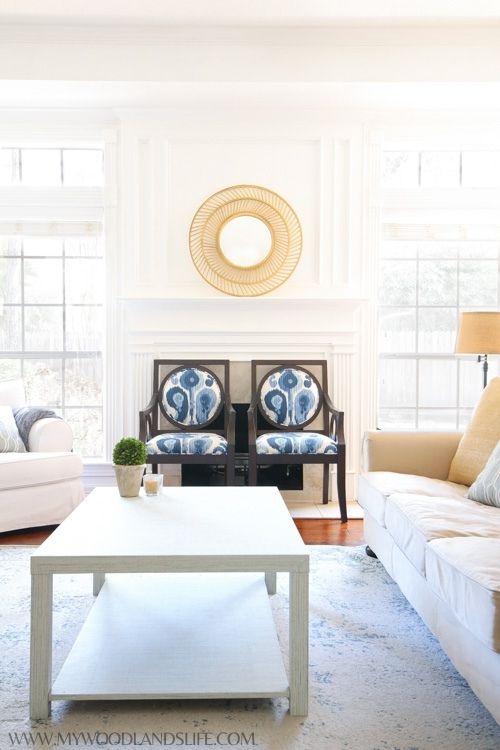
We have been needing a coffee table in here for years, and I’m so happy with how it turned out. And I can’t complain about the price tag on this one!



I was planning to get rid off my old Ikea table, but after having seen this I will try to give it a new life. Thank you for those helpful tips!
Thanks so much for checking out the blog post!