I wrote about our trip to my uncle and aunt’s property earlier this week and briefly mentioned one of my favorite foods ever—pico de gallo. Mr. L suggested I explain what it is and share the recipe. Then it occurred to me that I started a whole blog post on pico de gallo in 2016 before I took a pregnancy hiatus. You can tell from most of the photos that I definitely had no idea how to use my camera (hello ultra-violet tomatoes), but the recipe is still good. Indeed, I made pico and my roasted garlic and chipotle salsa tonight to top my beef tacos on lettuce:
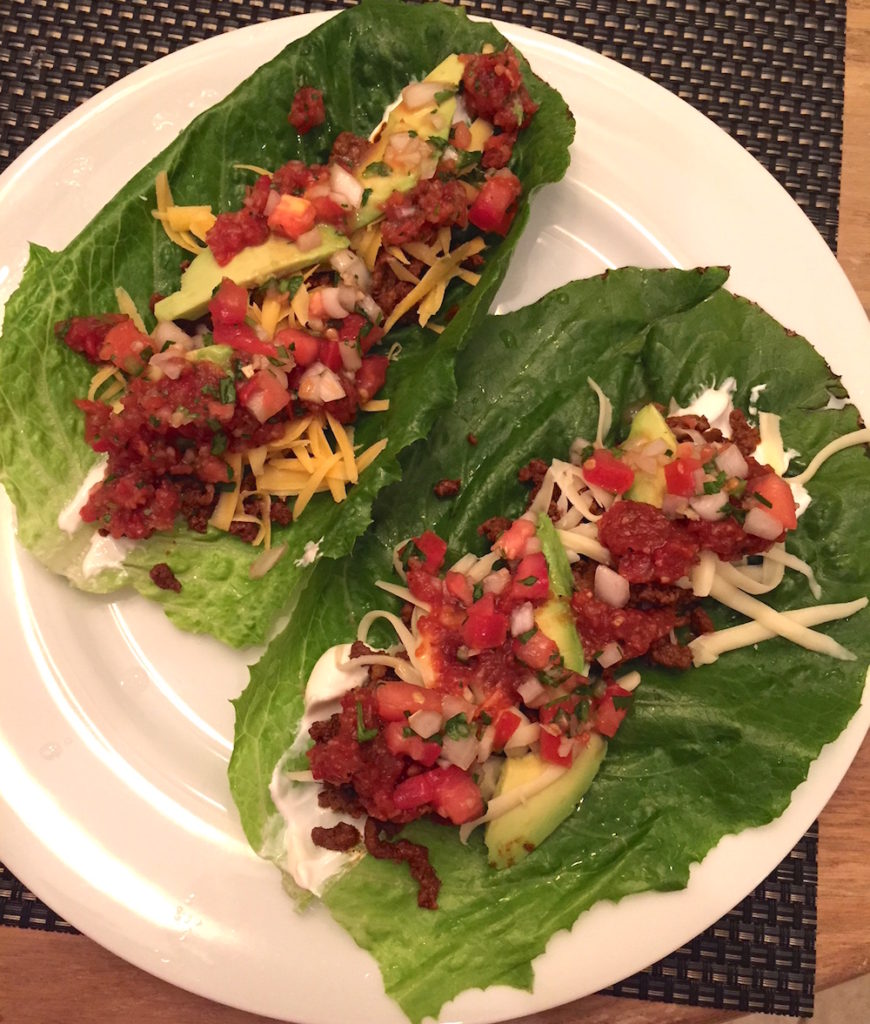
If you want in on a healthy fresh salsa that tastes great on everything, keep reading.
Rising Star, Texas
My uncle has a vineyard in a small town in northwest Texas, called Rising Star, Texas. Among other jobs, I would earn money in college and law school working for him at the vineyard on the weekends.
If you’re from Texas, you have probably traveled fairly close to Rising Star without realizing it. For Austinites familiar with 183 (aka Research Blvd.), this is about as far North as you can go on 183 before you hit I-20. If you’ve traveled between Dallas and Abilene, you get pretty close to Rising Star when you’re on I-20.
The main reason you have probably never heard of Rising Star is because it counts itself among those Texas towns that reached its height in the early 20th Century when agriculture and oil drove the economy. Now it’s a place you drive through and comment on the interesting name (or the zebra farm you pass on the way there if you’re coming from Austin).
In any event, Rising Star is conveniently located halfway between Austin and Lubbock, so it was also a good meet-up place for me to visit my family when I was attending law school. Every time we would visit my uncle, we could (and still can) depend on him having fixings for a big (and I’m talking 100-oz) bowl of pico de gallo.
Pico de gallo explained
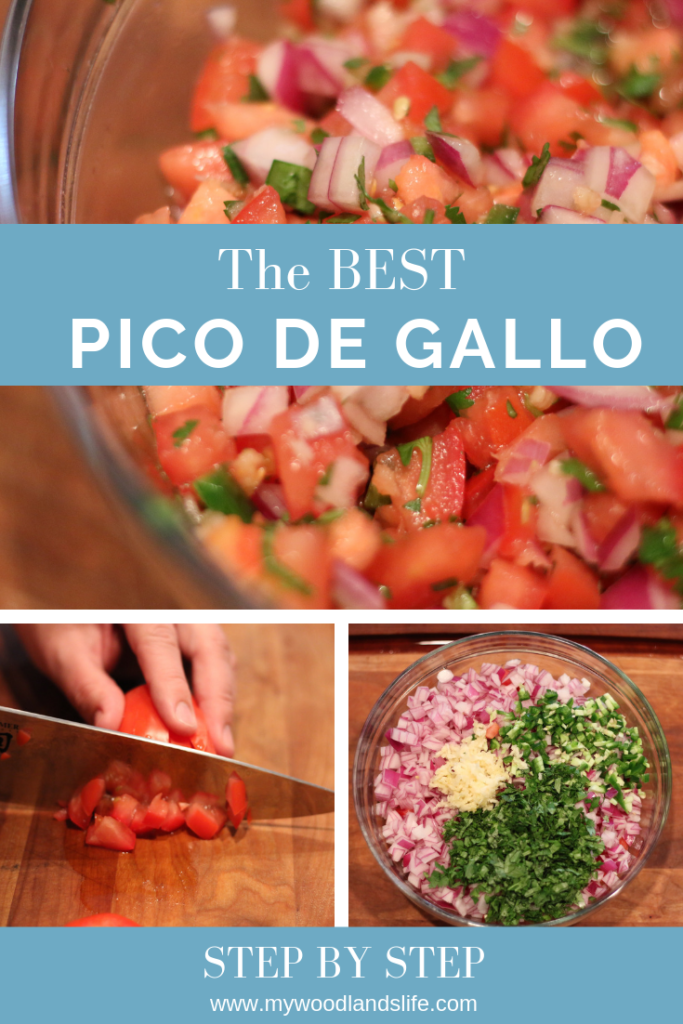
Pico de gallo (“pico” for short) is basically a fresh salsa that is made by finely dicing and then combining all of the components. The ingredients in this pico are not particularly different from those in other pico de gallo recipes, but the secret is in the proportions as well as the splash of white vinegar used at the end to brighten the flavor. Indeed, until I took the time to write down the recipe for the various friends who requested it, the recipe was derived from eyeballing the quantities of tomatoes, red onion, and other ingredients until you achieved a perfect flavor.
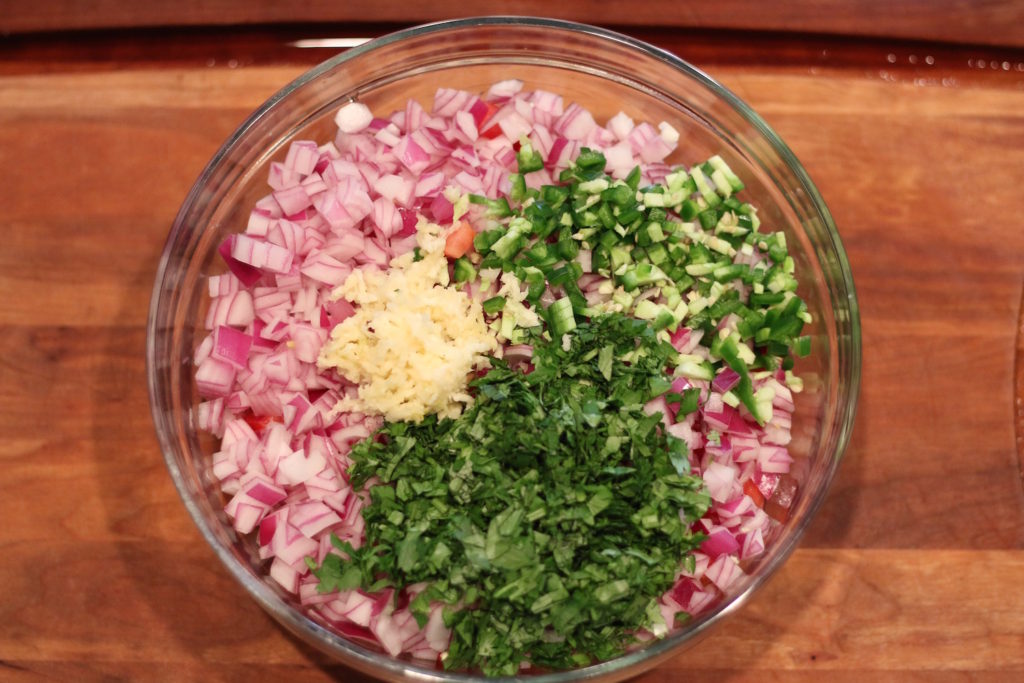
What follows is one of the recipes that I made, actually measured out, and then wrote down. But I will continue to use my eyeball method because every once in a while I end up making the “best pico ever”—and, believe me, that is quite a feat because the base recipe is pretty fabulous. Once you get the hang of it, play around with the proportions. If you like a less spicy pico, cut down on the jalapeños (or cut them out completely). If you prefer a more textured pico similar to Magues in Boerne, Texas (more details on this later), use white onion instead of red and increase the onion proportion. If you want to make the best nachos ever, top your chips with this pico and some queso. Possibilities are endless! Enjoy!
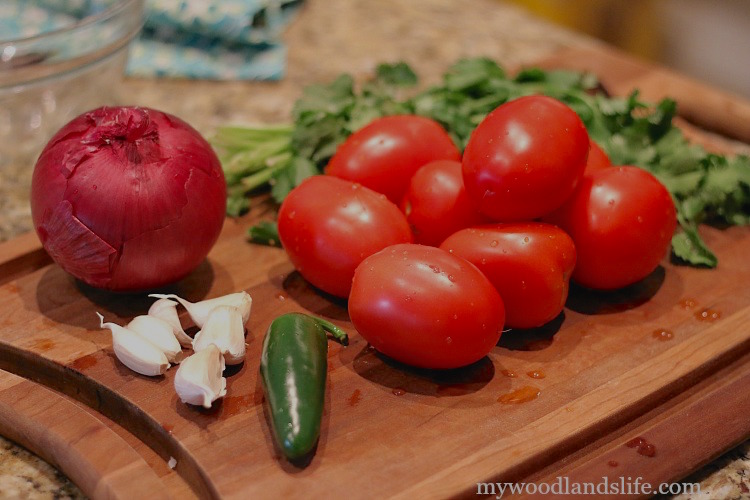
Rising Star Pico de Gallo
Ingredients
- 8 roma tomatoes
- 1 red onion (medium)
- 1 jalapeno pepper
- 6 cloves garlic
- 1 bunch cilantro
- 1 tsp salt
- 1 tbsp white vinegar
Instructions
-
Dice the tomatoes, onions, jalapeño pepper, garlic, and cilantro (see notes).
-
Put the diced ingredients in a large bowl and season with the salt and white vinegar. Stir until combined.
As you can see, the instructions are about as easy as it gets. But here’s a little more instruction that helps ensure this pico turns out perfectly:
Embrace Your OCD
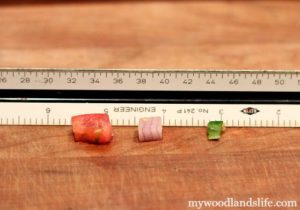
Being meticulous with the dicing is essential. Perfectly diced tomatoes, onions, and jalapeños ensure flavor consistency in every bite. You see in the above pic that my tomatoes and onions are around a half-inch cubed. Try to stick to that size. Below is a tip for cutting the tomatoes and onions.
Cut Your Tomatoes Like a Blooming Onion
This is a technique I learned from my uncle. It may be common knowledge, but I know a few people who have been surprised by this cutting method, so I’ll set it out here just in case you don’t know about it. I’m a visual person, so the pictures make more sense to me, but I’ve tried to write out instructions as well. Hopefully one or the other or some combination of the two makes sense.
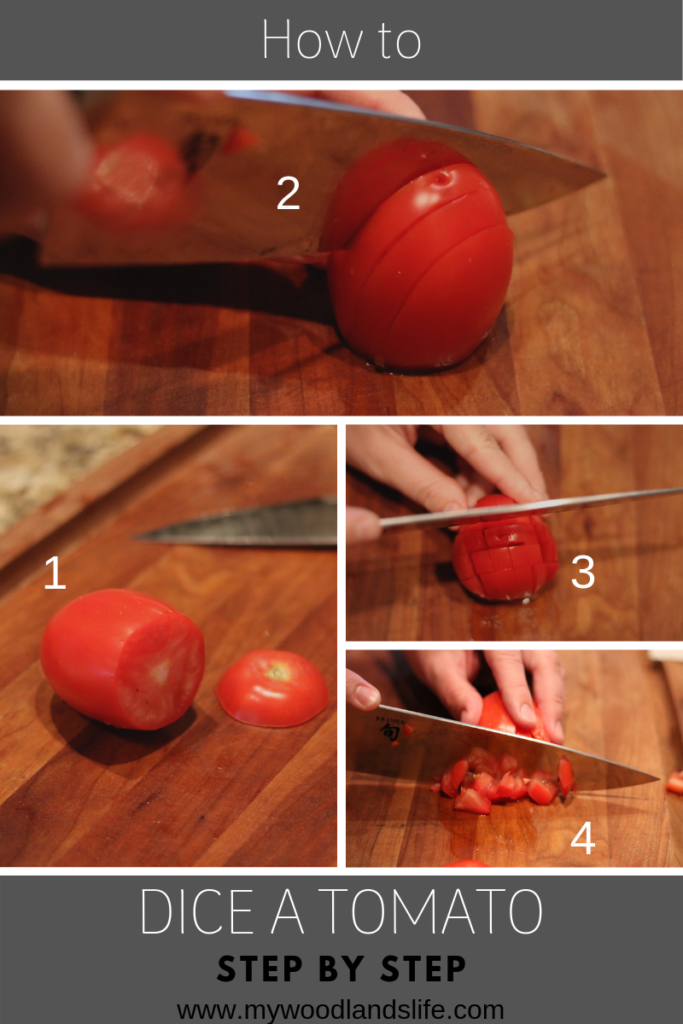
(1) First, cut the end off of the Roma tomato. (2) Second, set it up on the cut end so it sits flat and make parallel cuts, one-quarter to one-half inch apart, down to the base of the tomato (but not all the way down–leave about a quarter inch of space so the tomato doesn’t fall apart). (3) Third, rotate the tomato 90 degrees and make another series of cuts (these will be perpendicular to the original cuts you made–you’re basically cutting a checkered pattern in the top of the tomato). While you do this, hold the tomato together with your non-cutting hand to keep the tomato from falling apart. (4) Last step: lay the tomato on its side while holding it together and cut along the tomato. Your perfectly diced pieces will fall off and your work will be done.
Cut Your Onion Like a Blooming Onion
You knew this was coming, right? See above instructions, but start by cutting off the ends of the onion, and then cutting it in half from end to end. Peel the skin off of each half and follow the tomato instructions above. Here’s a visual of what the onion should look like before you make the final cuts:
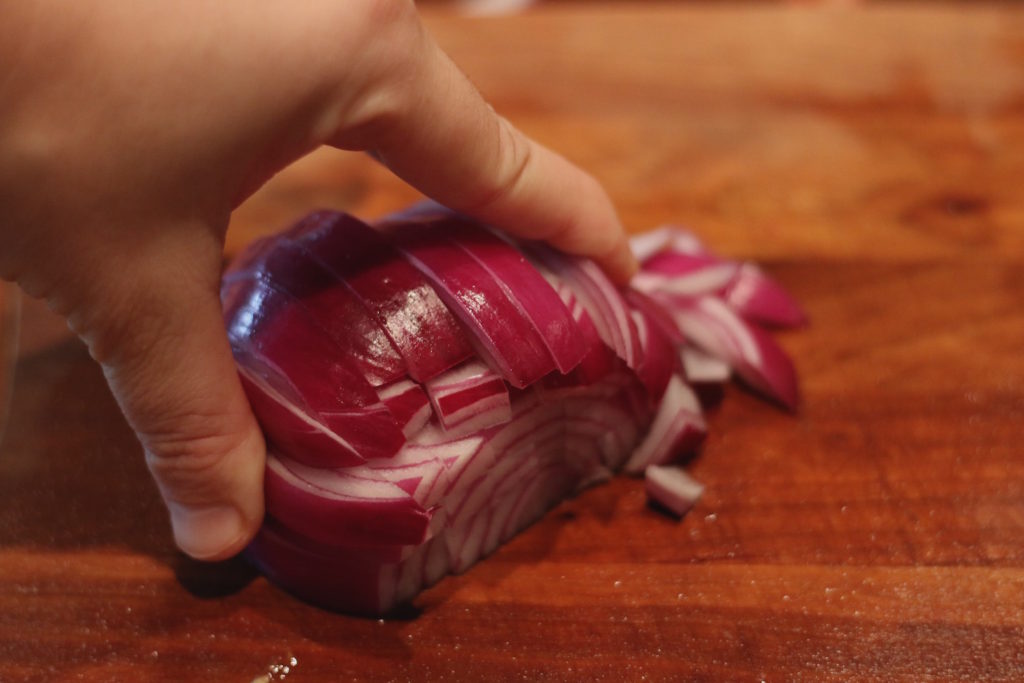
Oh! And, by the way, I highly suggest getting some of these onion goggles.
These are not the most fashionable of items, but they really do work to keep your eyes from tearing up when cutting onions. I have this exact brand and use them every time I cut onions. Game changer.
Invest in a Garlic Press
Another essential tool of the trade (or at least of my kitchen) is the garlic press:
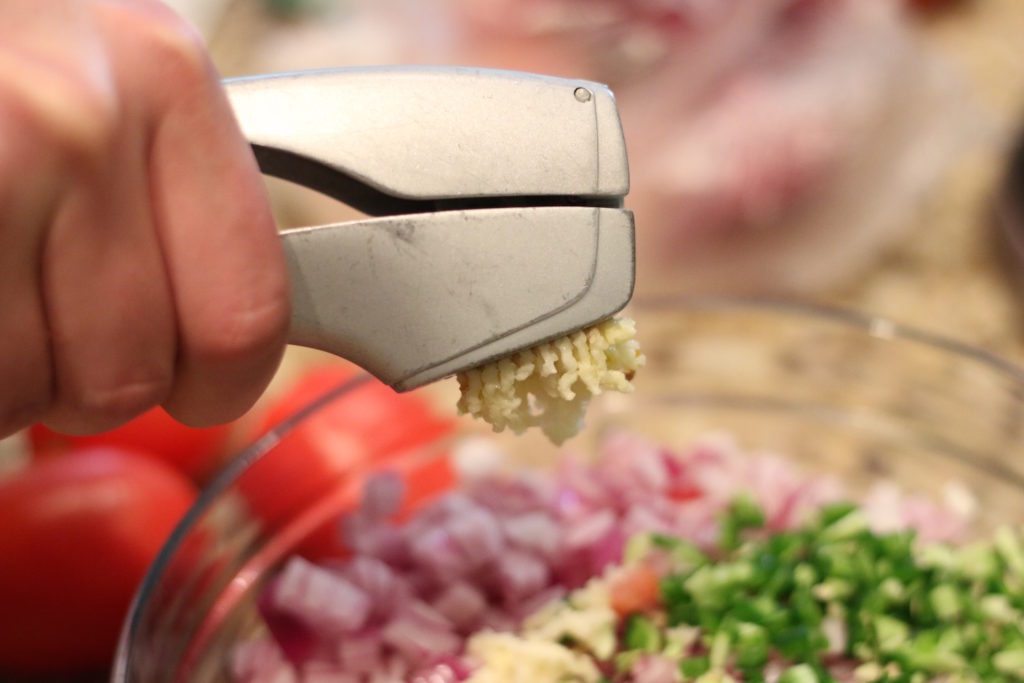
I have this this one , and it works like a dream.
I cut the ends off of my garlic, smash each clove with the flat part of my knife, peel them, and then insert them into the garlic press and squeeze. There are a lot of mediocre garlic presses out there, but this one dices the garlic to the perfect size so that it can distribute evenly throughout the other pico ingredients.
Jalapeños are optional
I have made this pico many many times, and, depending on the crowd, will omit the jalapeños. If you do want to add some heat, serrano peppers are a good option too.
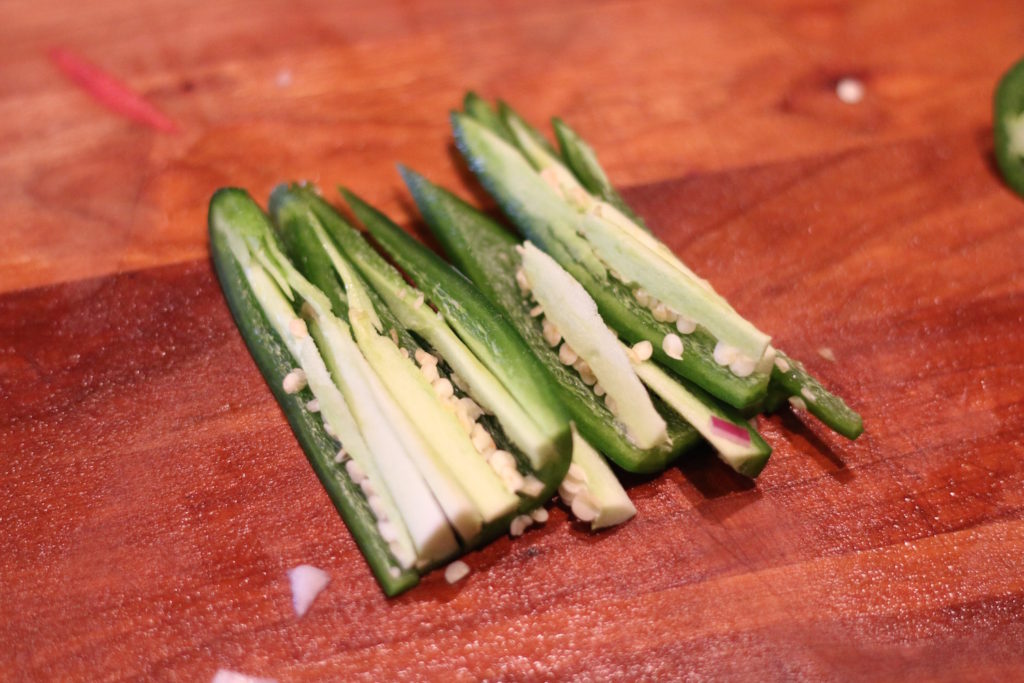
Seeds are optional as well. I usually leave them in out of laziness, but I’ve heard that it cuts back on the heat to remove the seeds before dicing.
White vinegar is the secret ingredient
This is my last—but the most important—note. Do not substitute out the white vinegar with any other ingredient. I know you’re thinking a healthy squeeze of lime would add a nice zing to the pico. However, try it with white vinegar first. It provides the perfect amount of acid without making everything taste like citrus fruit. It also has less calories and zero carbs.
Seriously, enjoy
This pico tastes great on tortilla chips, tacos, lettuce, eggs, and pretty much every kind of meat. It’s also a good salad option if you want to eat it on its own. I hope you enjoy it as much as we do.


Leave a Reply